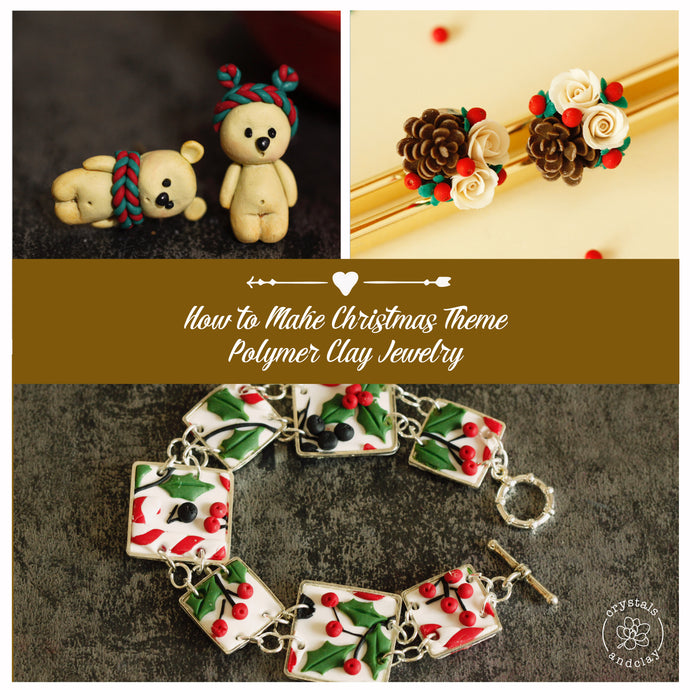
How to make Christmas bouquet polymer clay earrings

Another polymer clay earrings project for Christmas! Today we are going to make a beautiful and festive Christmas bouquet including pinecones, berries and roses. It touches upon many different topics and you will learn a lot here. If you feel overwhelmed, just try one item out! Making a polymer clay pinecone, or a bunch of red berries! I assure you they are not as difficult as they seem to be.
Now let's get started!
Material

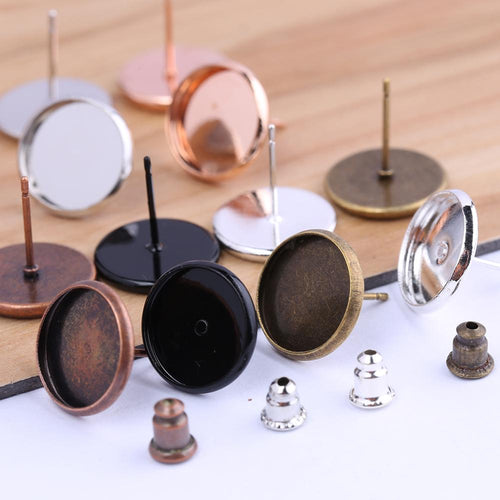
- two 12mm round earring posts
- polymer clay -- beige, dark brown, dark green and cherry red
Make a polymer clay pinecone

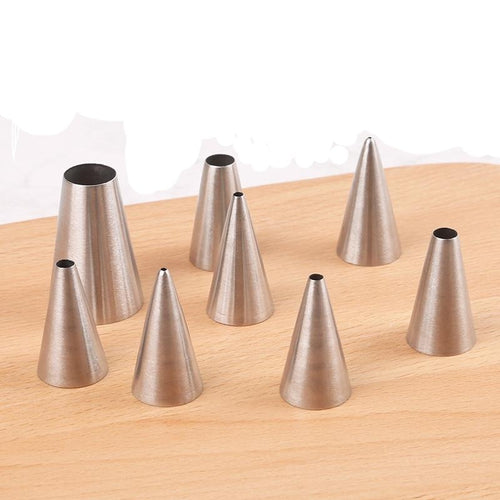
Roll brown polymer clay into 1mm thickness with a pasta roller or rolling pin. Then use small round cake piping tips (I used Wilton No.1 and No.2) to cut tiny circles out of the clay.
A pinecone is usually a long oval shape with more than 10 layers of "leaves". In our earring design, we need to shorten the pinecone to five layers so its height is the same as the roses. The pinecone will still look real however, since the only angle to look at the bouquet is from the above.
The layer structure of a pinecone is listed in the table below.
- First layer: (size 2+size 1+size 1)*8
- Second layer: (size 2+size 1)*7
- Third layer: size 2*6
- Fourth layer: (size 2 - size 1)*5
- Fifth layer : size 1*4
*Size 2 represents a circle cut by Wilton No.2 piping tip.
*size 1 represents a circle cut by Wilton No.1 piping tip.
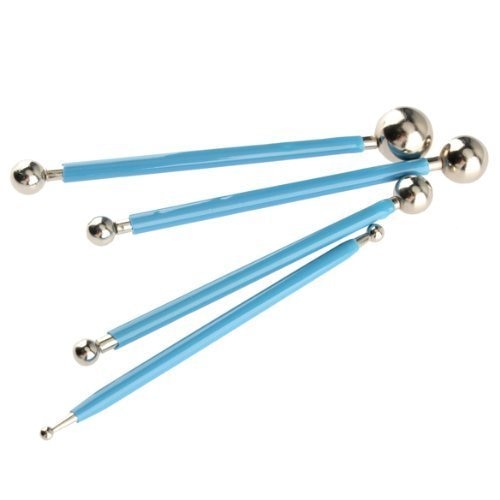
Form the polymer clay circles into tiny balls. Then shape them into an elongated teardrop. Transfer all the "leaves" to a foam pad and use a ball tool to give them a slight curl.


Once the leaves are ready, it's time to assemble. Using a small polymer clay circle as a base, place the first layer of 8 leaves on top. Add another small circle in the center, then place the second layer of 7 leaves on top. Continue the same process for the third, fourth and fifth layer.
Now you have made a cute little polymer clay pinecone. To transfer it onto the earrings, add a piece of polymer clay to the earring post groove and apply liquid clay on top as glue. Then place the pinecone to cover half of the surface as shown in picture 6.
Make polymer clay berries

To make our bouquet more festive, it's essential to incorporate a few red berries into the arrangement.
They are very simple to make, here is how...
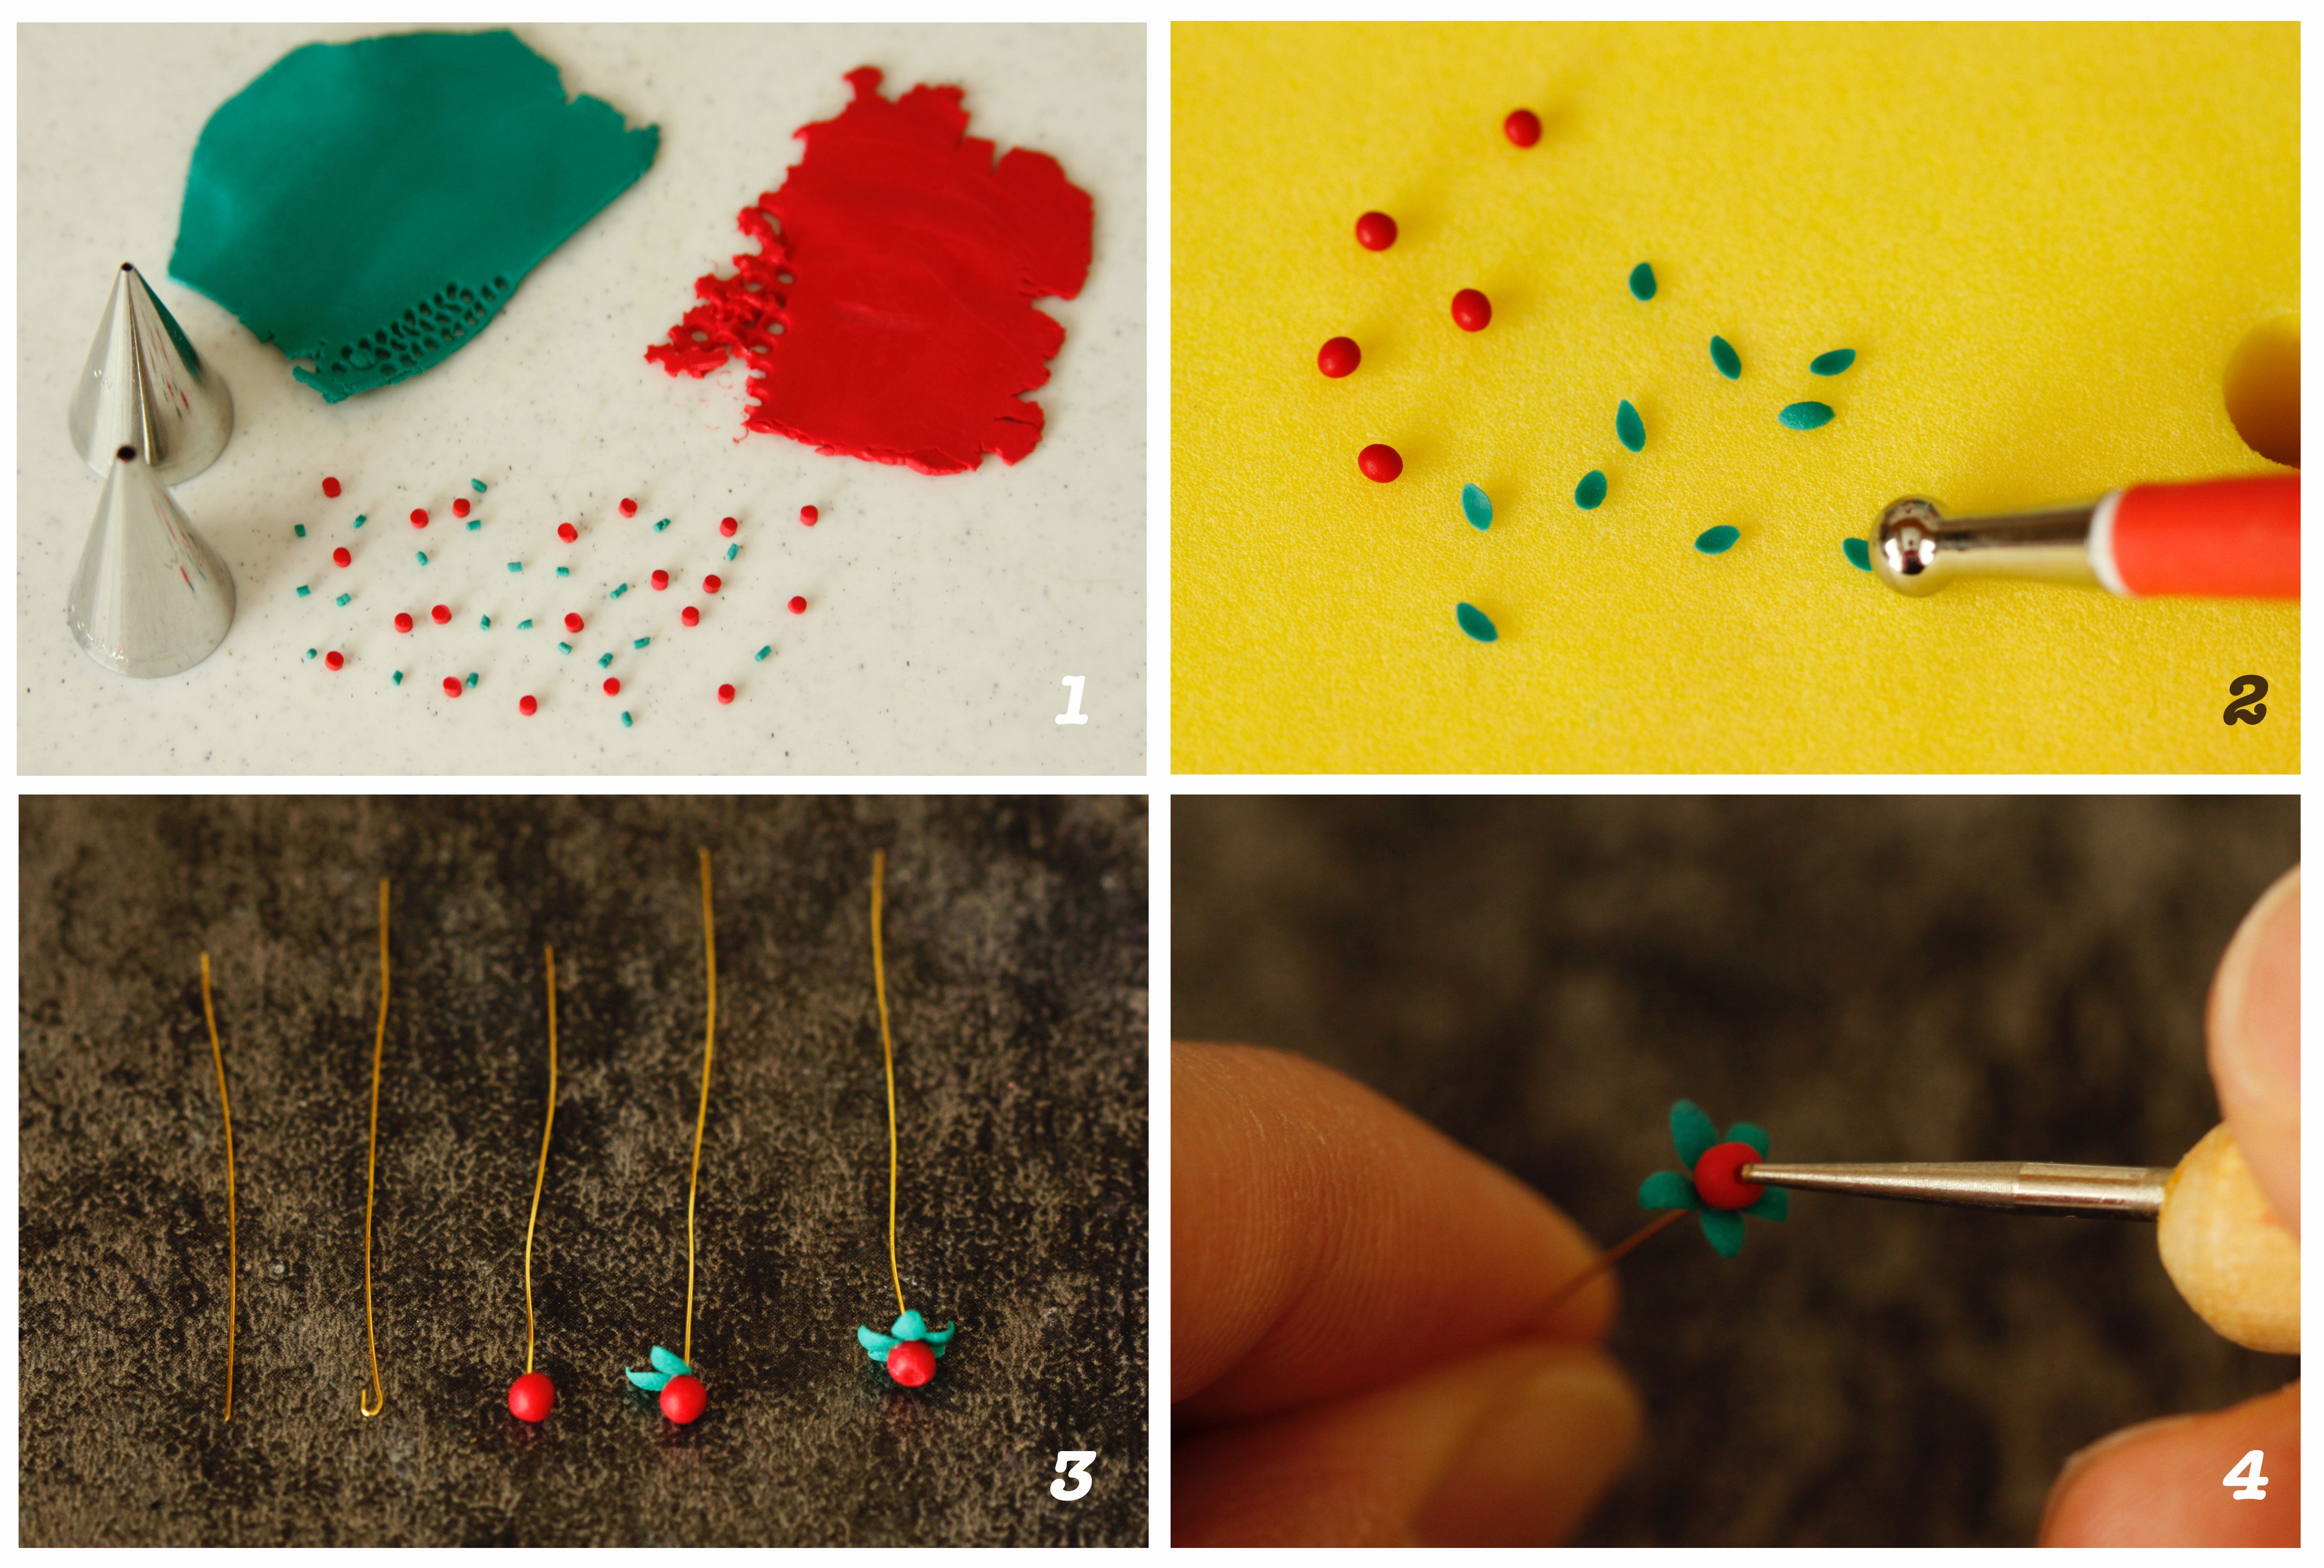

Roll red and green polymer clay into a 1mm thickness with a pasta roller or rolling pin. Then use small round cake piping tips (I used Wilton No.1 and No.2) to cut tiny circles out of the clay.
Take two red polymer clay circles and form them into a red berry. For the leaves, place one green circle on the foam pad and expand it to an oval shape using a ball tool.
Unlike the pinecone and roses, berries can't be glued on the earrings directly. They need to be attached to a piece of wire and inserted in the bouquet. To achieve that, bend a small hook at the end of the wire and dip it in liquid polymer clay. Embed the hook in the red berry and attach the tiny leaves at the bottom. Then indent the top of the berry using a needle tool.
To avoid being squashed, those polymer clay berries need to be partially baked before adding in the bouquet. Fifteen minutes oven time at 110C/230F should be sufficient.
Make polymer clay roses
This tutorial will not discuss how to make polymer clay rose in detail. I have a very thorough tutorial on this topic. You can read it here.
The layer structure of the roses I used here is listed below:
Rose structure
- Center: 1/4 of size 7
- First layer: 1/4 of size 7
- Second layer:1/4 of size 7 *3
- Fourth layer: 1/2 of size 7 *5
*Size 7 represents a polymer clay circle cut by Wilton No.7 round piping tip.
Assemble the polymer clay earrings 

Assemble process is quite straight forward. For the roses, don't forget to apply liquid polymer clay to the surface before attaching the flowers. For the berries, cut the wire really short and dip the end in the liquid clay. Then insert the wire in the bouquet till it touches the bottom.
Bake your creation in the oven at 110C/230F for 30 minutes.
Now you have it! A pair of delicate and beautiful Christmas polymer clay earrings! Try them before holiday and wear them to the Christmas party!
If you have any suggestions or questions, leaving a comment below. Also, I have another great tutorial teaching you how to make an adorable Christmas teddy bear. Check it out if you love Christmas themes.
If you like today’s tutorial, please share it with your friends by pining the complete picture guide below. Thank you.

Product Used In This Project
-
8-Piece Round Piping Tip Set for Polymer Clay Flower Making
![8-Piece Round Piping Tip Set for Polymer Clay Flower Making]()
- Regular price
- $11.86
- Sale price
- $11.86
- Unit price
- per
-
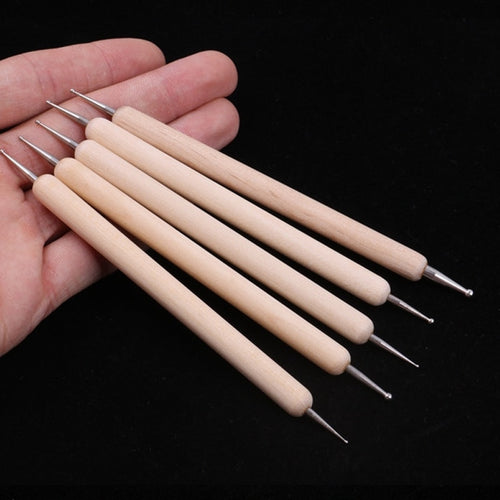
4 Pieces Stainless Steel Polymer Clay Modeling Ball Tool Set
![4 Pieces Stainless Steel Polymer Clay Modeling Ball Tool Set]()
- Regular price
- $11.98
- Sale price
- $11.98
- Unit price
- per
-
5 Pieces Stainless Steel Mini Double Headed Polymer Clay Modeling Ball Tool Set
![5 Pieces Stainless Steel Mini Double Headed Polymer Clay Modeling Ball Tool Set]()
- Regular price
- $7.18
- Sale price
- $7.18
- Unit price
- per