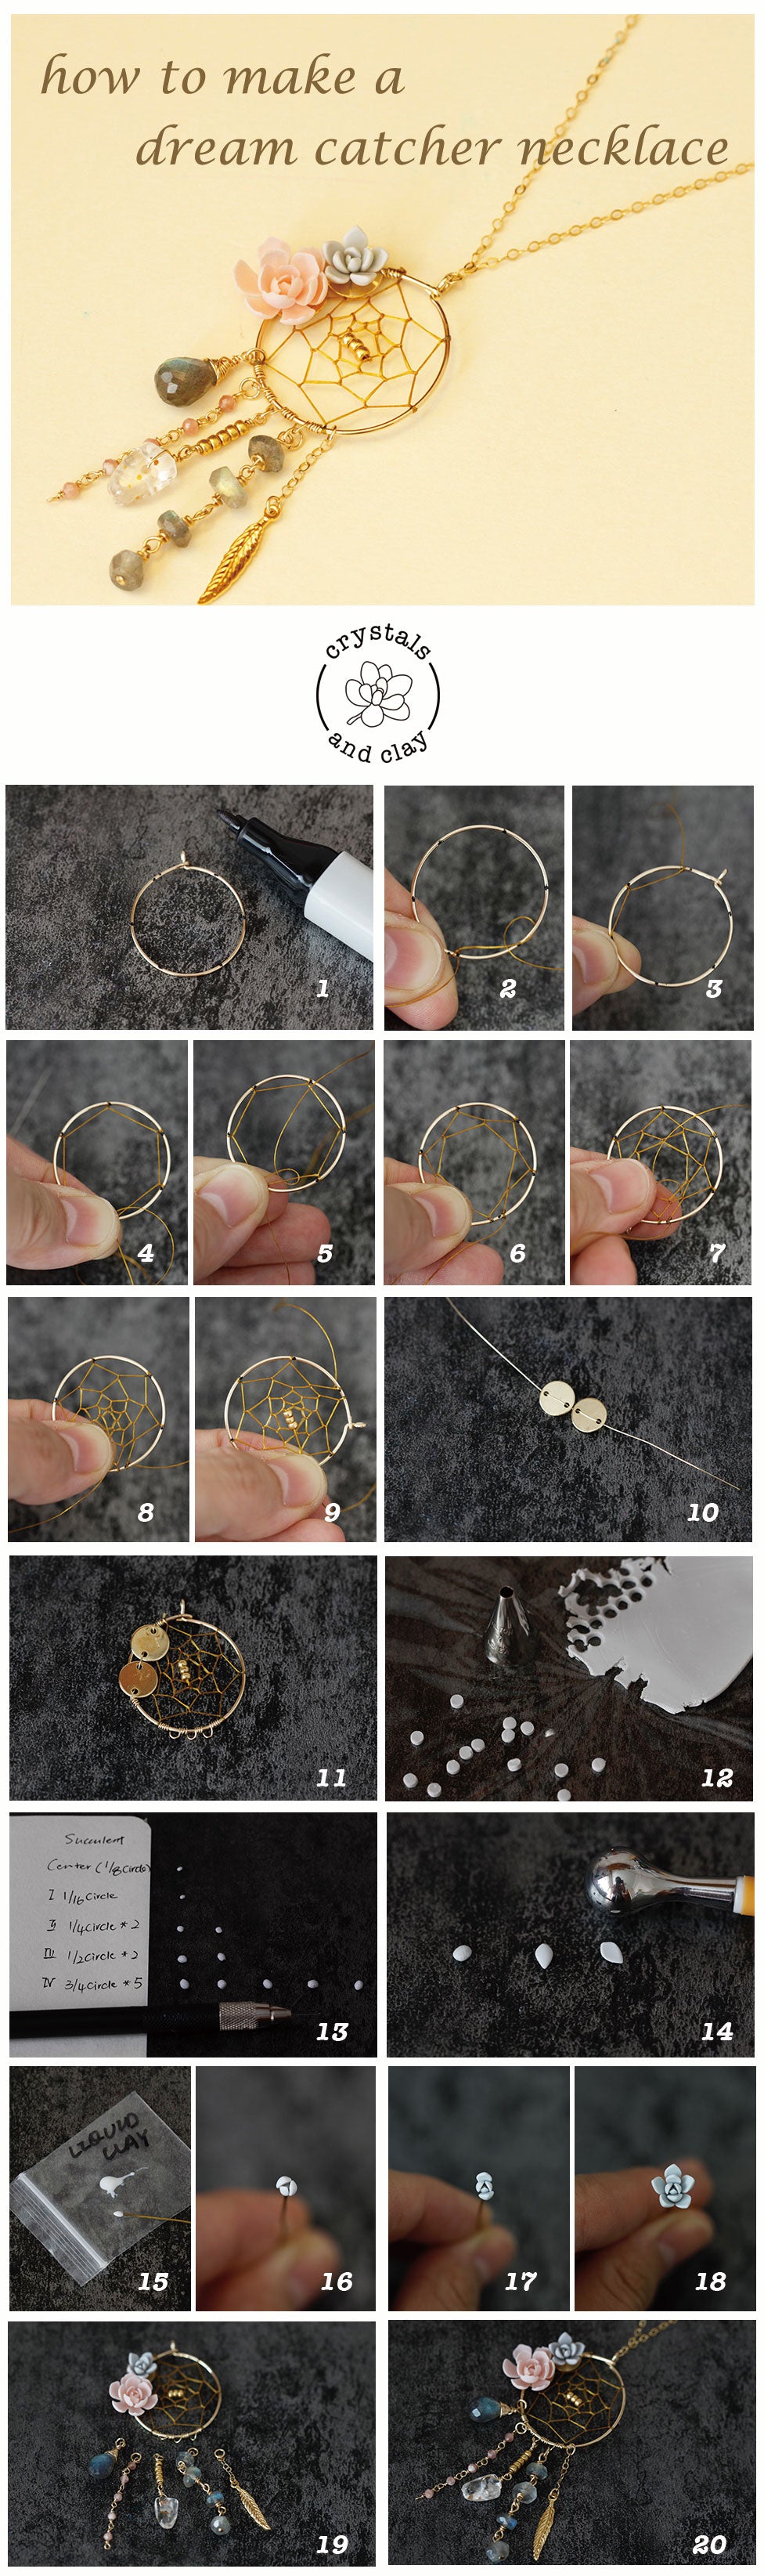
How to Make a Dream Catcher Necklace

Today I am going to share with you guys one of my favorite necklace designs -- a dream catcher! It is a bit challenging but the end result is absolutely amazing!
Materials

- 20 gauge and 28 gauge jewelry wire
- pale pink and gray polymer clay
- Pale Gray -----Fimo Effect translucent white : Fimo soft white : Fimo Soft black = 7:3:0.05
- Pale Pink -----Fimo Soft blossom : Fimo Effect translucent white = 7:3
- moonstone, rhodonite beads and gold feather
- two 6mm or 8mm gold plates with double holes
- Nymo thread (gold)
- necklace chain and clasp
Step 1: Make the wire loop
Take a piece of 20 gauge wire, wrap it around a ring mandrel and form a circle that's 1 inch in diameter.
Read my tutorial on how to make a circle with jewelry wire here.
Step 2 : Make the dream catcher

Mark six equal parts on the circle (picture 1). Now we can start making the web. I used gold Nymo thread for this task. The whole process is difficult to explain in words. But don't worry, I have both pictures and video tutorial to help you out!
Before you finish, add a few seed beads to the web. It is not only a decoration, but also a great place to hide the excessive thread end.
Step 3: decorate the dream catcher (optional)
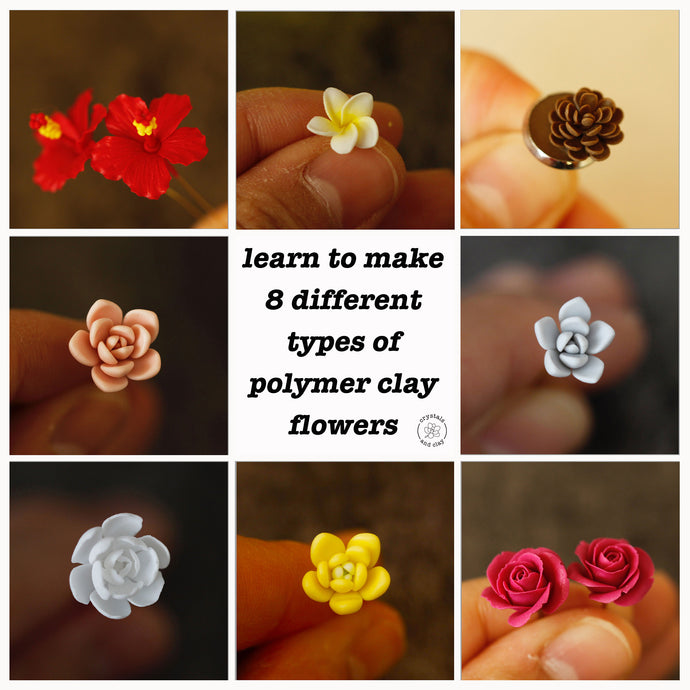
 Step 3.1 Polymer clay flower and succulent (optional)
 Step 3.1 Polymer clay flower and succulent (optional)
As shown in the picture, there is a polymer clay component in this project. You can skip it if you are unfamiliar with the media (jump to step 3.2). However, if you love the design, here is how.
First of all, you need to attach two small metal plates to the side of the wire loop using 28 gauge wire (picture 2 and 3). The clay flowers can be attached on them later.
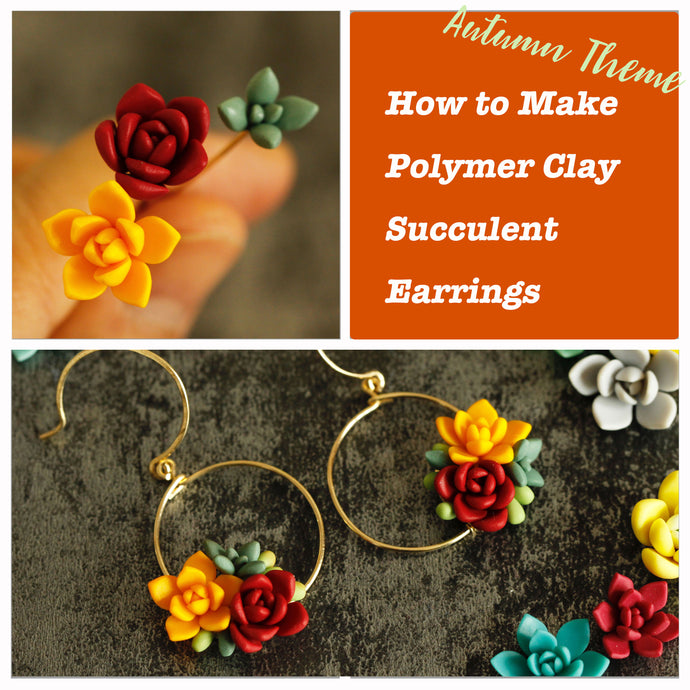
The peony shown in the picture above is taught in my previous post here. In this tutorial, we'll focus on making the succulent. 
Cut small circles from a piece of gray polymer clay using Wilton No.7 round piping tip. Then divide the circle further based on the chart shown in picture 2.
Form each clay piece into succulent leaf shape (picture 18). Then arrange them around the center as shown in picture 5-7. Once you made the succulent, bake it in the oven at 110C (230F) for 30 minutes.
When the flowers are ready to use, attach them to the metal plates using super glue and allow them to try for at least 24 hours before wearing.
Step 3.2 Attach the gemstones and necklace chain
Attaching beads and chain is very straightforward. The only thing I want to show you here is a small "separator" I created at the bottom of the web. This will separate the bead strings and help them hang correctly.

If you don't know how to connect the beads together using jewelry wire, read this post here.
If you like today’s tutorial, please share it with your friends by pining the complete picture guide below. Thank you.