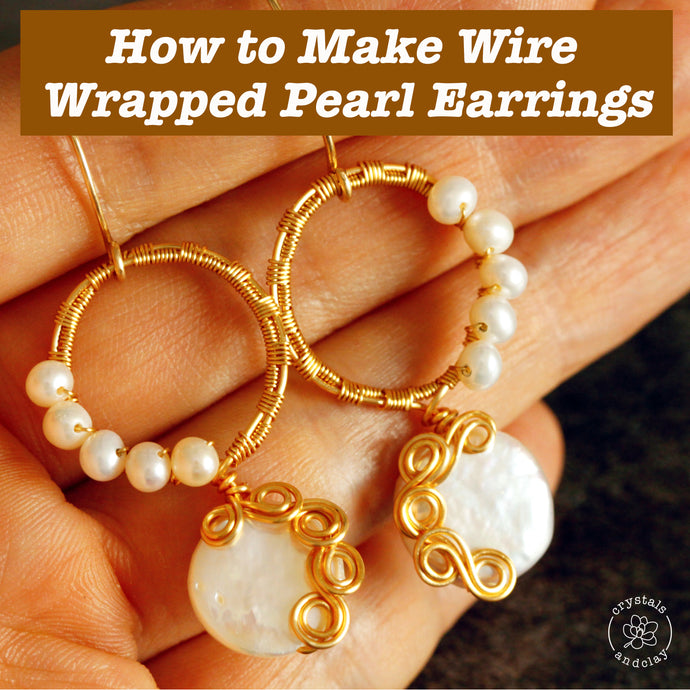
Wire wrapping made easy — the simplest way to create free form loop patterns
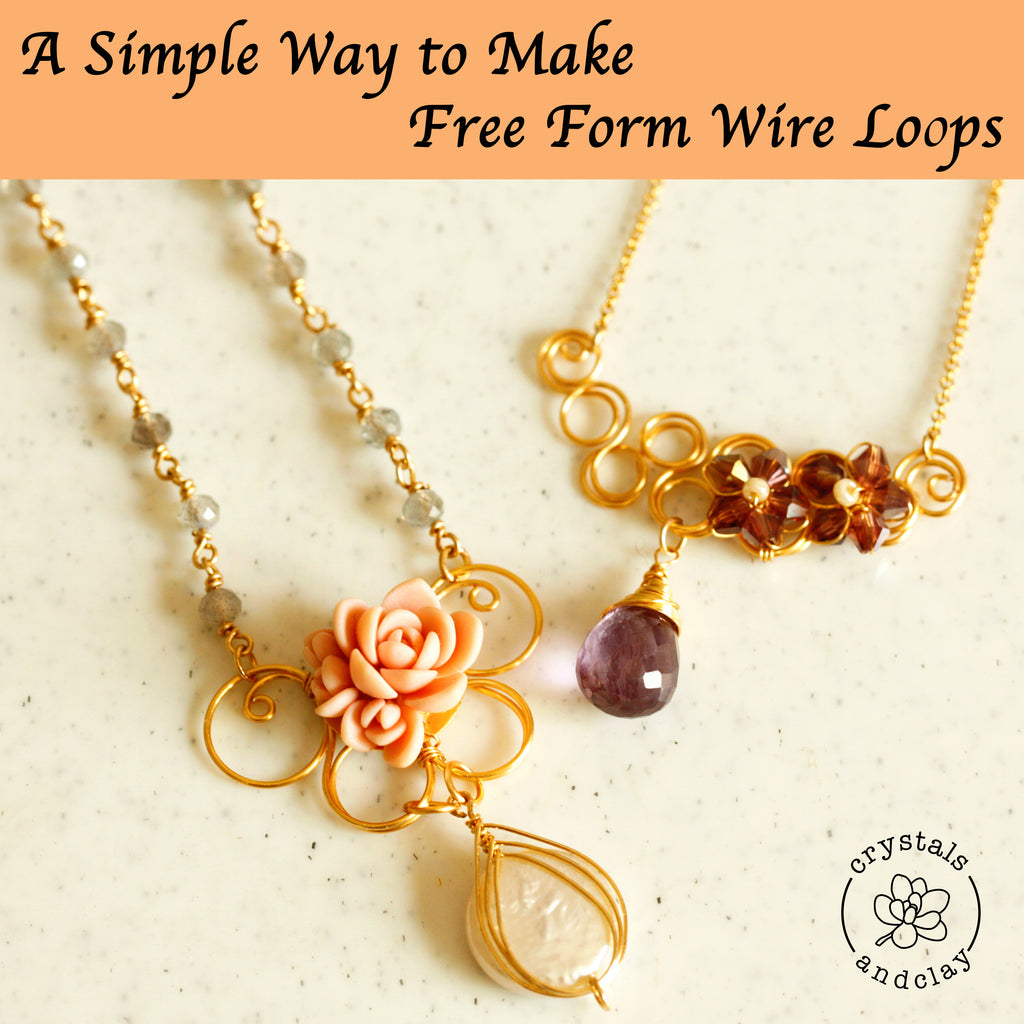
If you like wire wrapping, you might also feel frustrated sometime when try to design a new pattern. As you continue wrapping the wire, the previously perfect loop can be distorted easily. Today I want to show you a simple trick to make sure you end up with perfect circles every time!
In addition, in this tutorial, i am also going to provide a few ways to embellish those free form loops and turn them into stunning jewelry pieces!
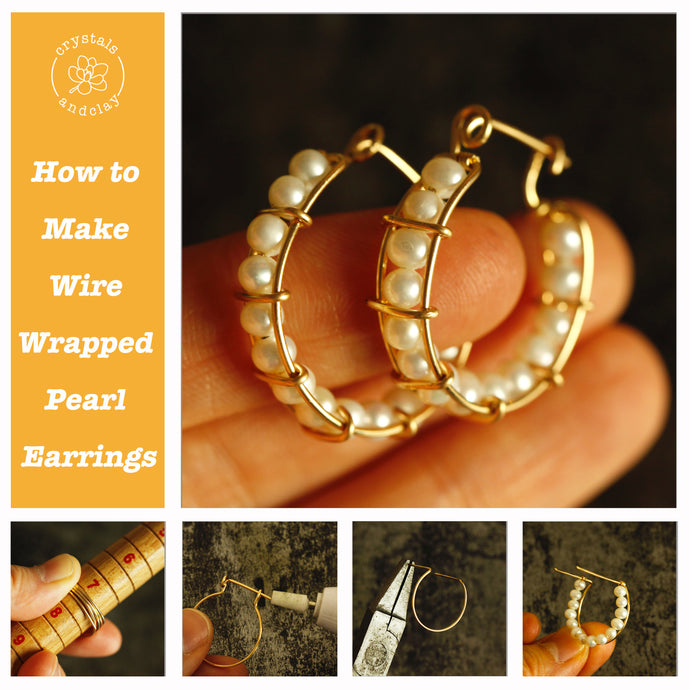
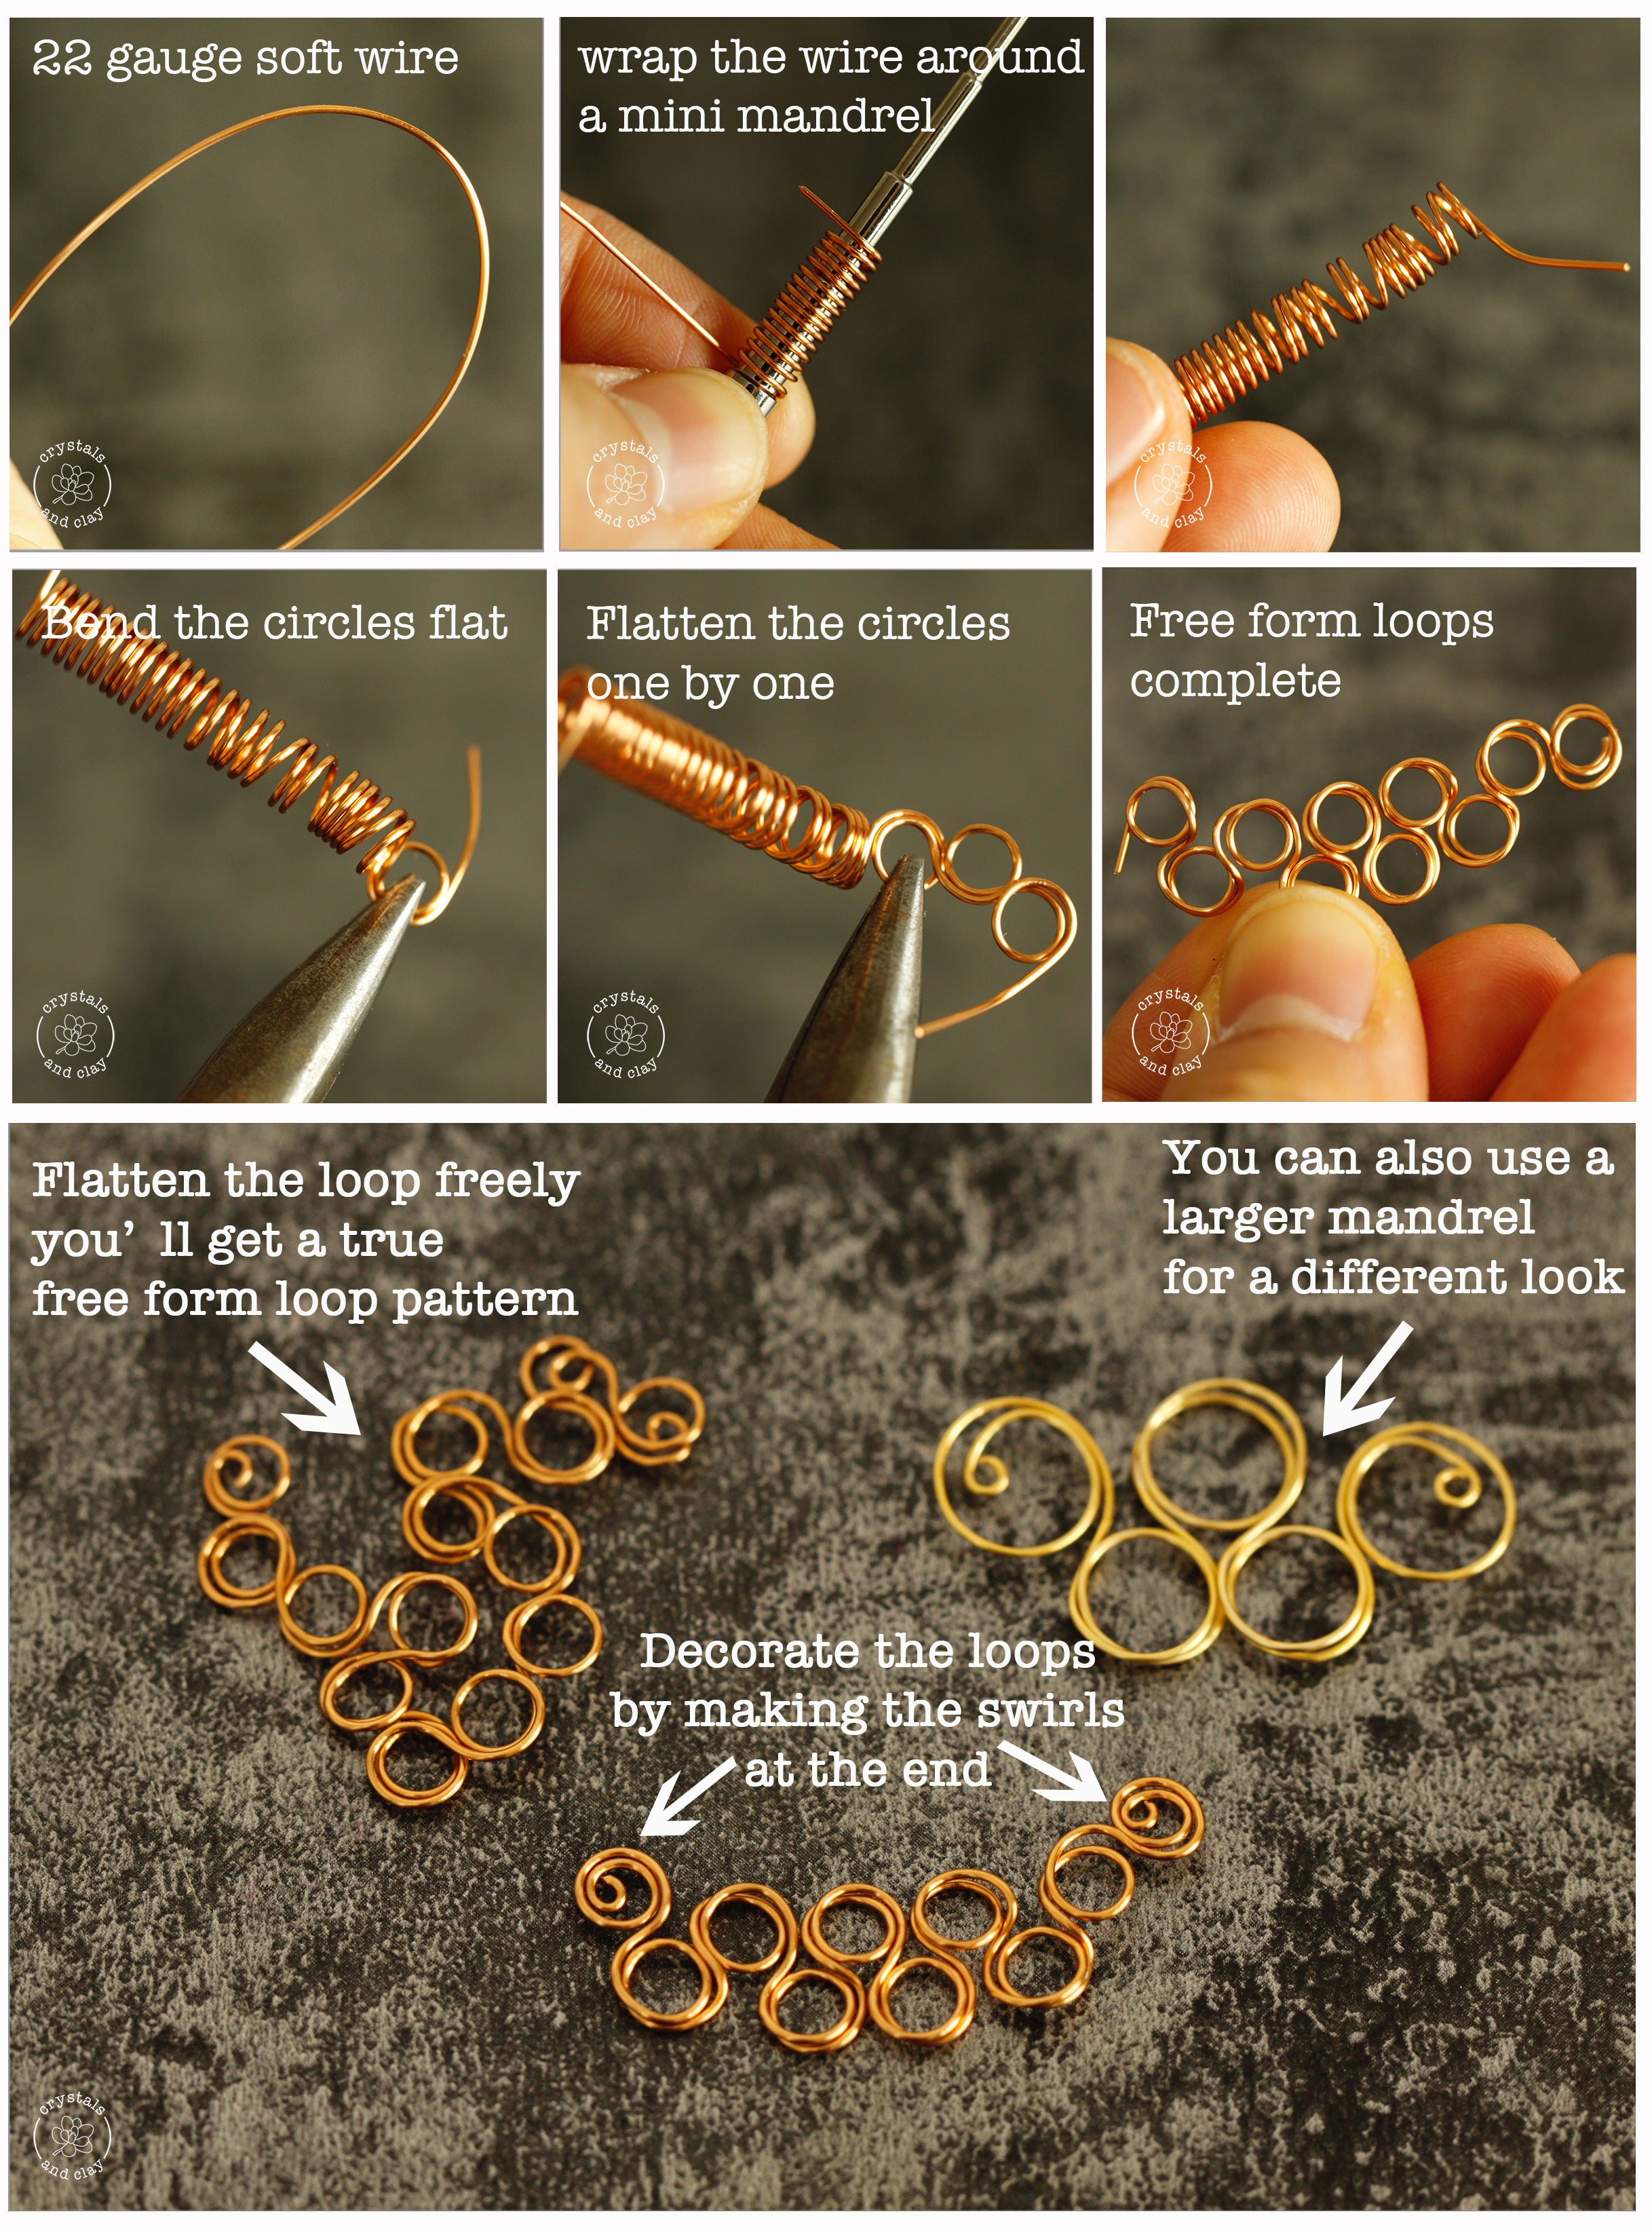
1. A Simple Trick to Make Free Form Wire Loops
The keys to make the free form wire loops are to make lots of circles quickly and keep their shapes from distorting. Instead of making the circles one at a time, you can wrap the wire around the mini mandrel multiple times and then flatten them out using a chain nose plier.
Here are the step-by-step pictures showing you how to do it.
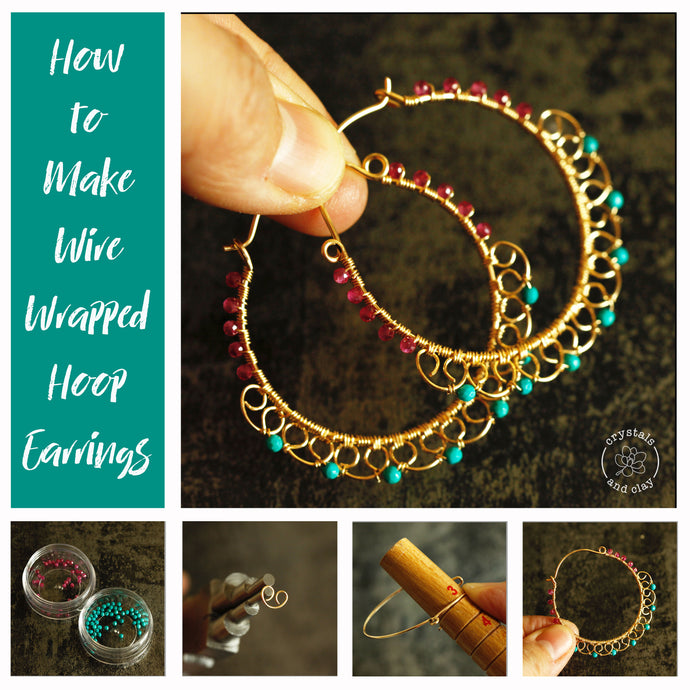
2. How to Embellish the Free Form Wire Loops
To turn those free form loops into the jewelry pieces, you'll need to come up with some design ideas. Here I'll introduce two ways to embellish them. The first with beaded flowers, the second with polymer clay flowers. They all can be purchased in my store. (Yes, even the polymer clay flowers, they are handmade by me.)
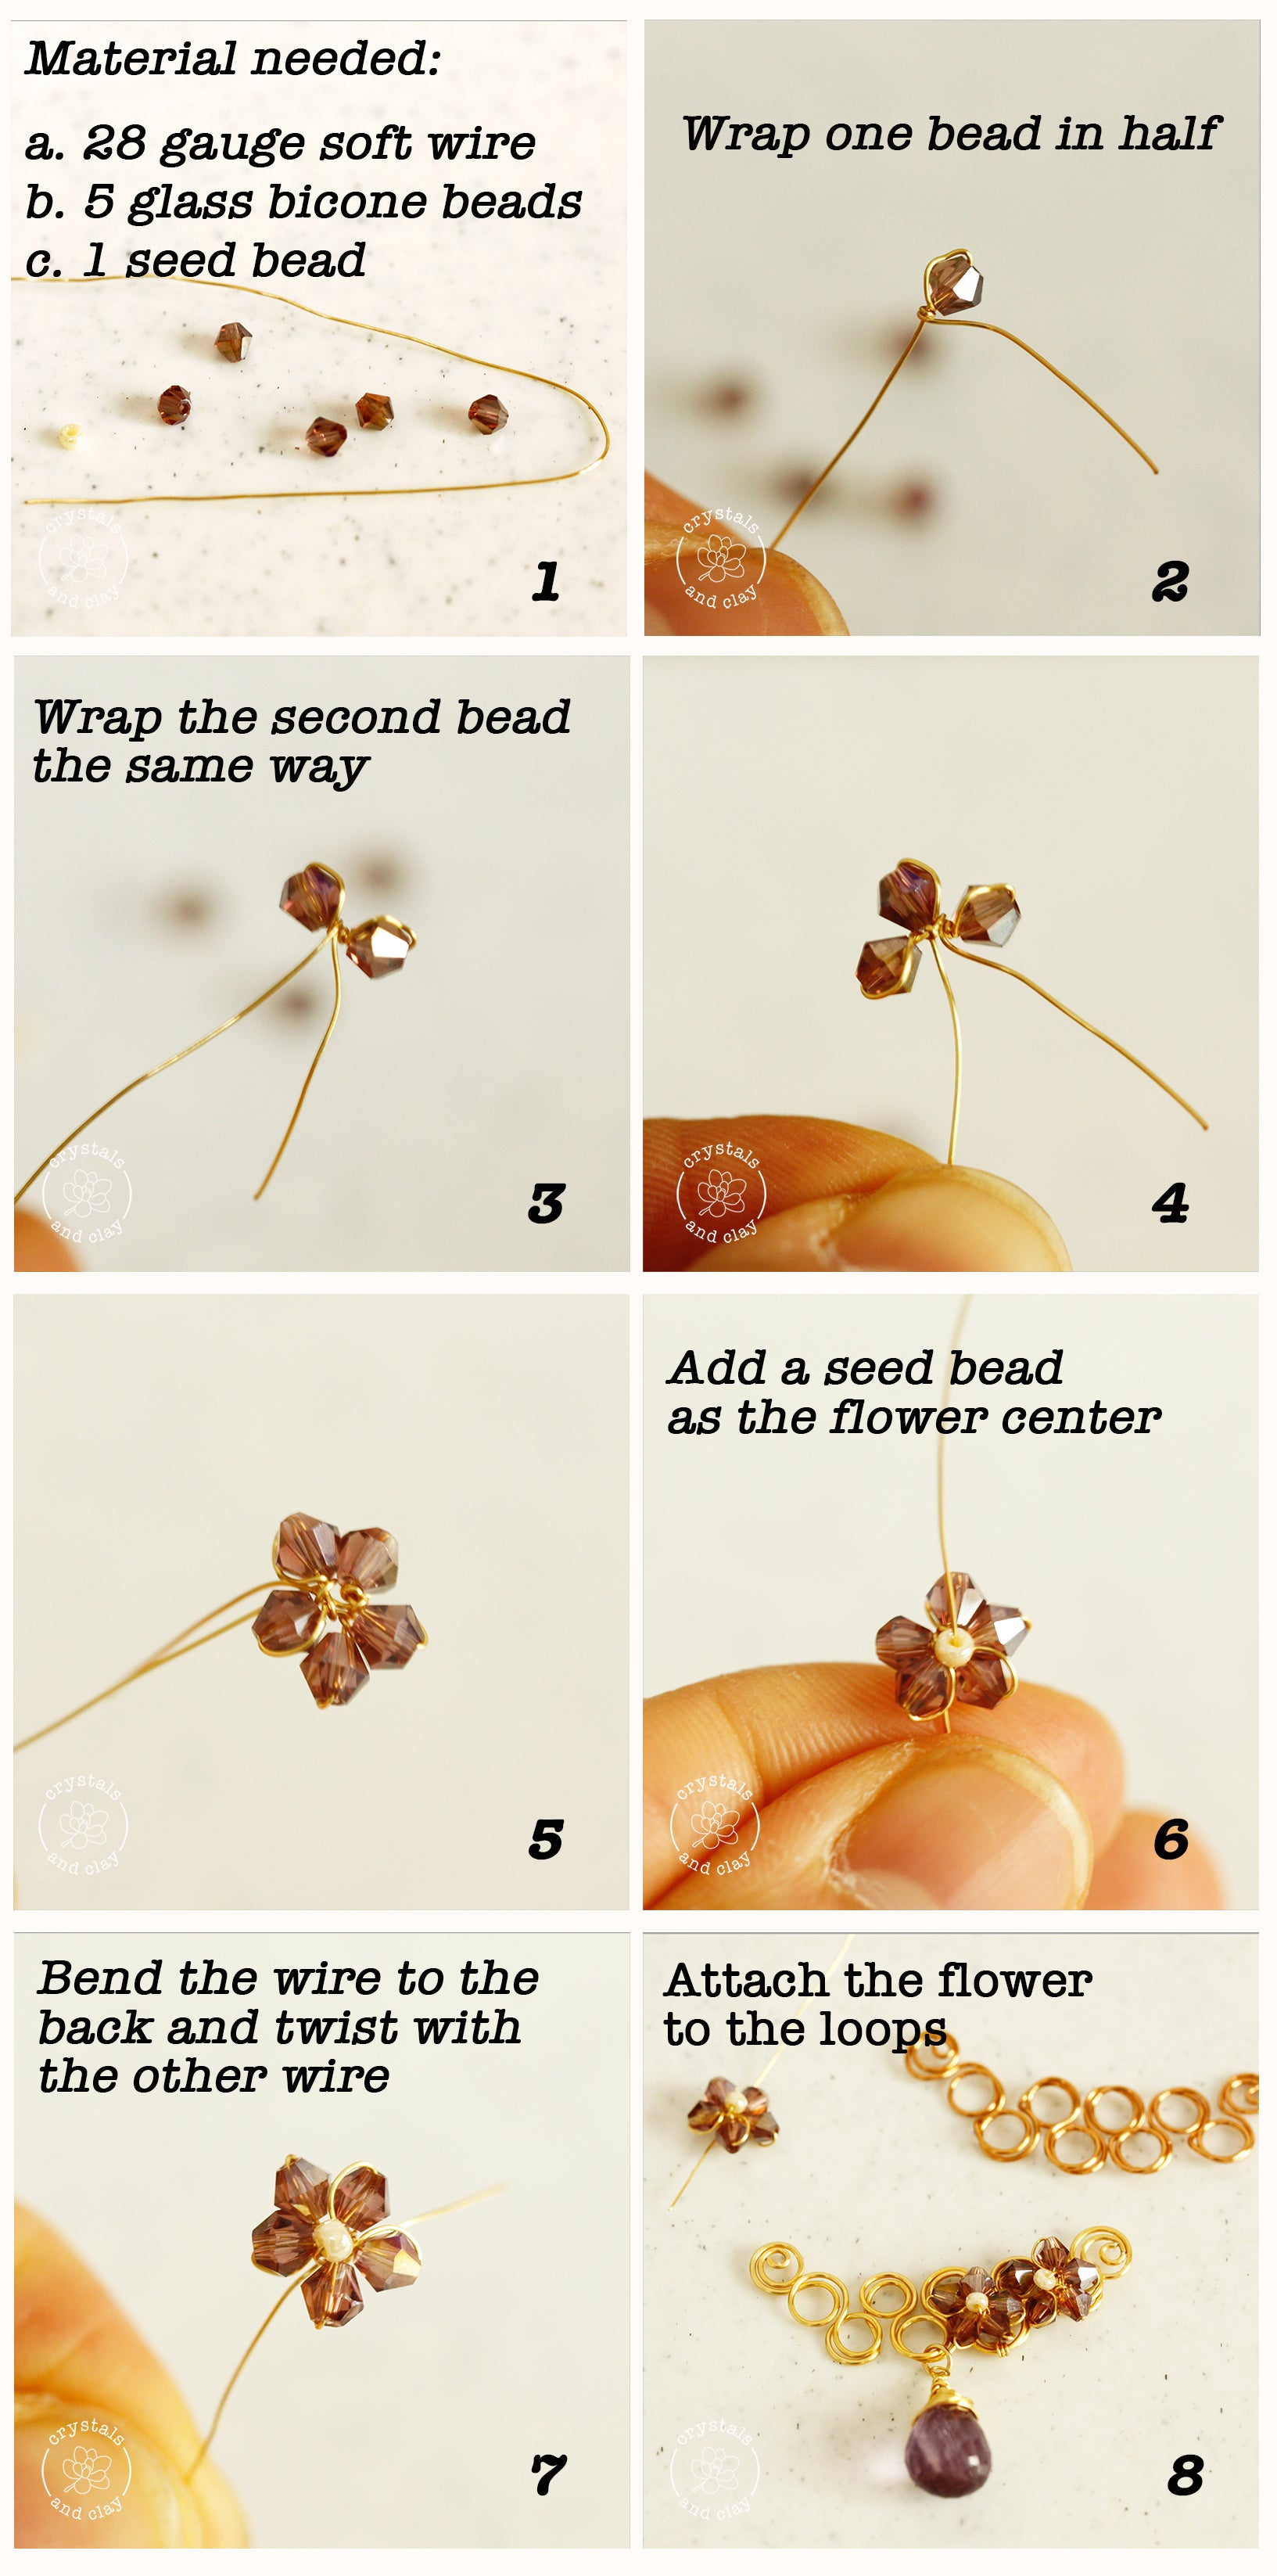
2.1 Embellishing with beaded flowers
Beaded flowers can be made in many ways. In fact I've written a tutorial to cover this very topic, you can read it here: Jewelry Making Basics 7 -- Three ways to make beaded flower.
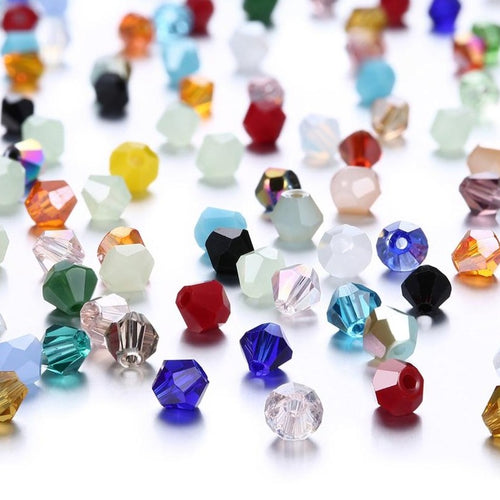
In this post, I am going to use the glass bicone beads to assemble a simple flower. You can then wrap the two ends of the flower to the free form loops we just made. To make the piece even more beautiful, you can hang a matching color briolette at the end.
2.2 Embellishing with polymer clay flowers
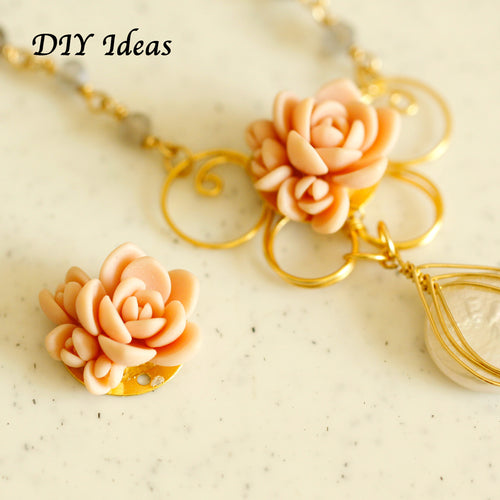
I always think polymer clay flowers are a perfect match to the wired loops and swirls. They both have a romantic feel and look in harmony. In order to attach the polymer clay flowers to the free form loops, you'll need to first attach the flower to a metal connector.
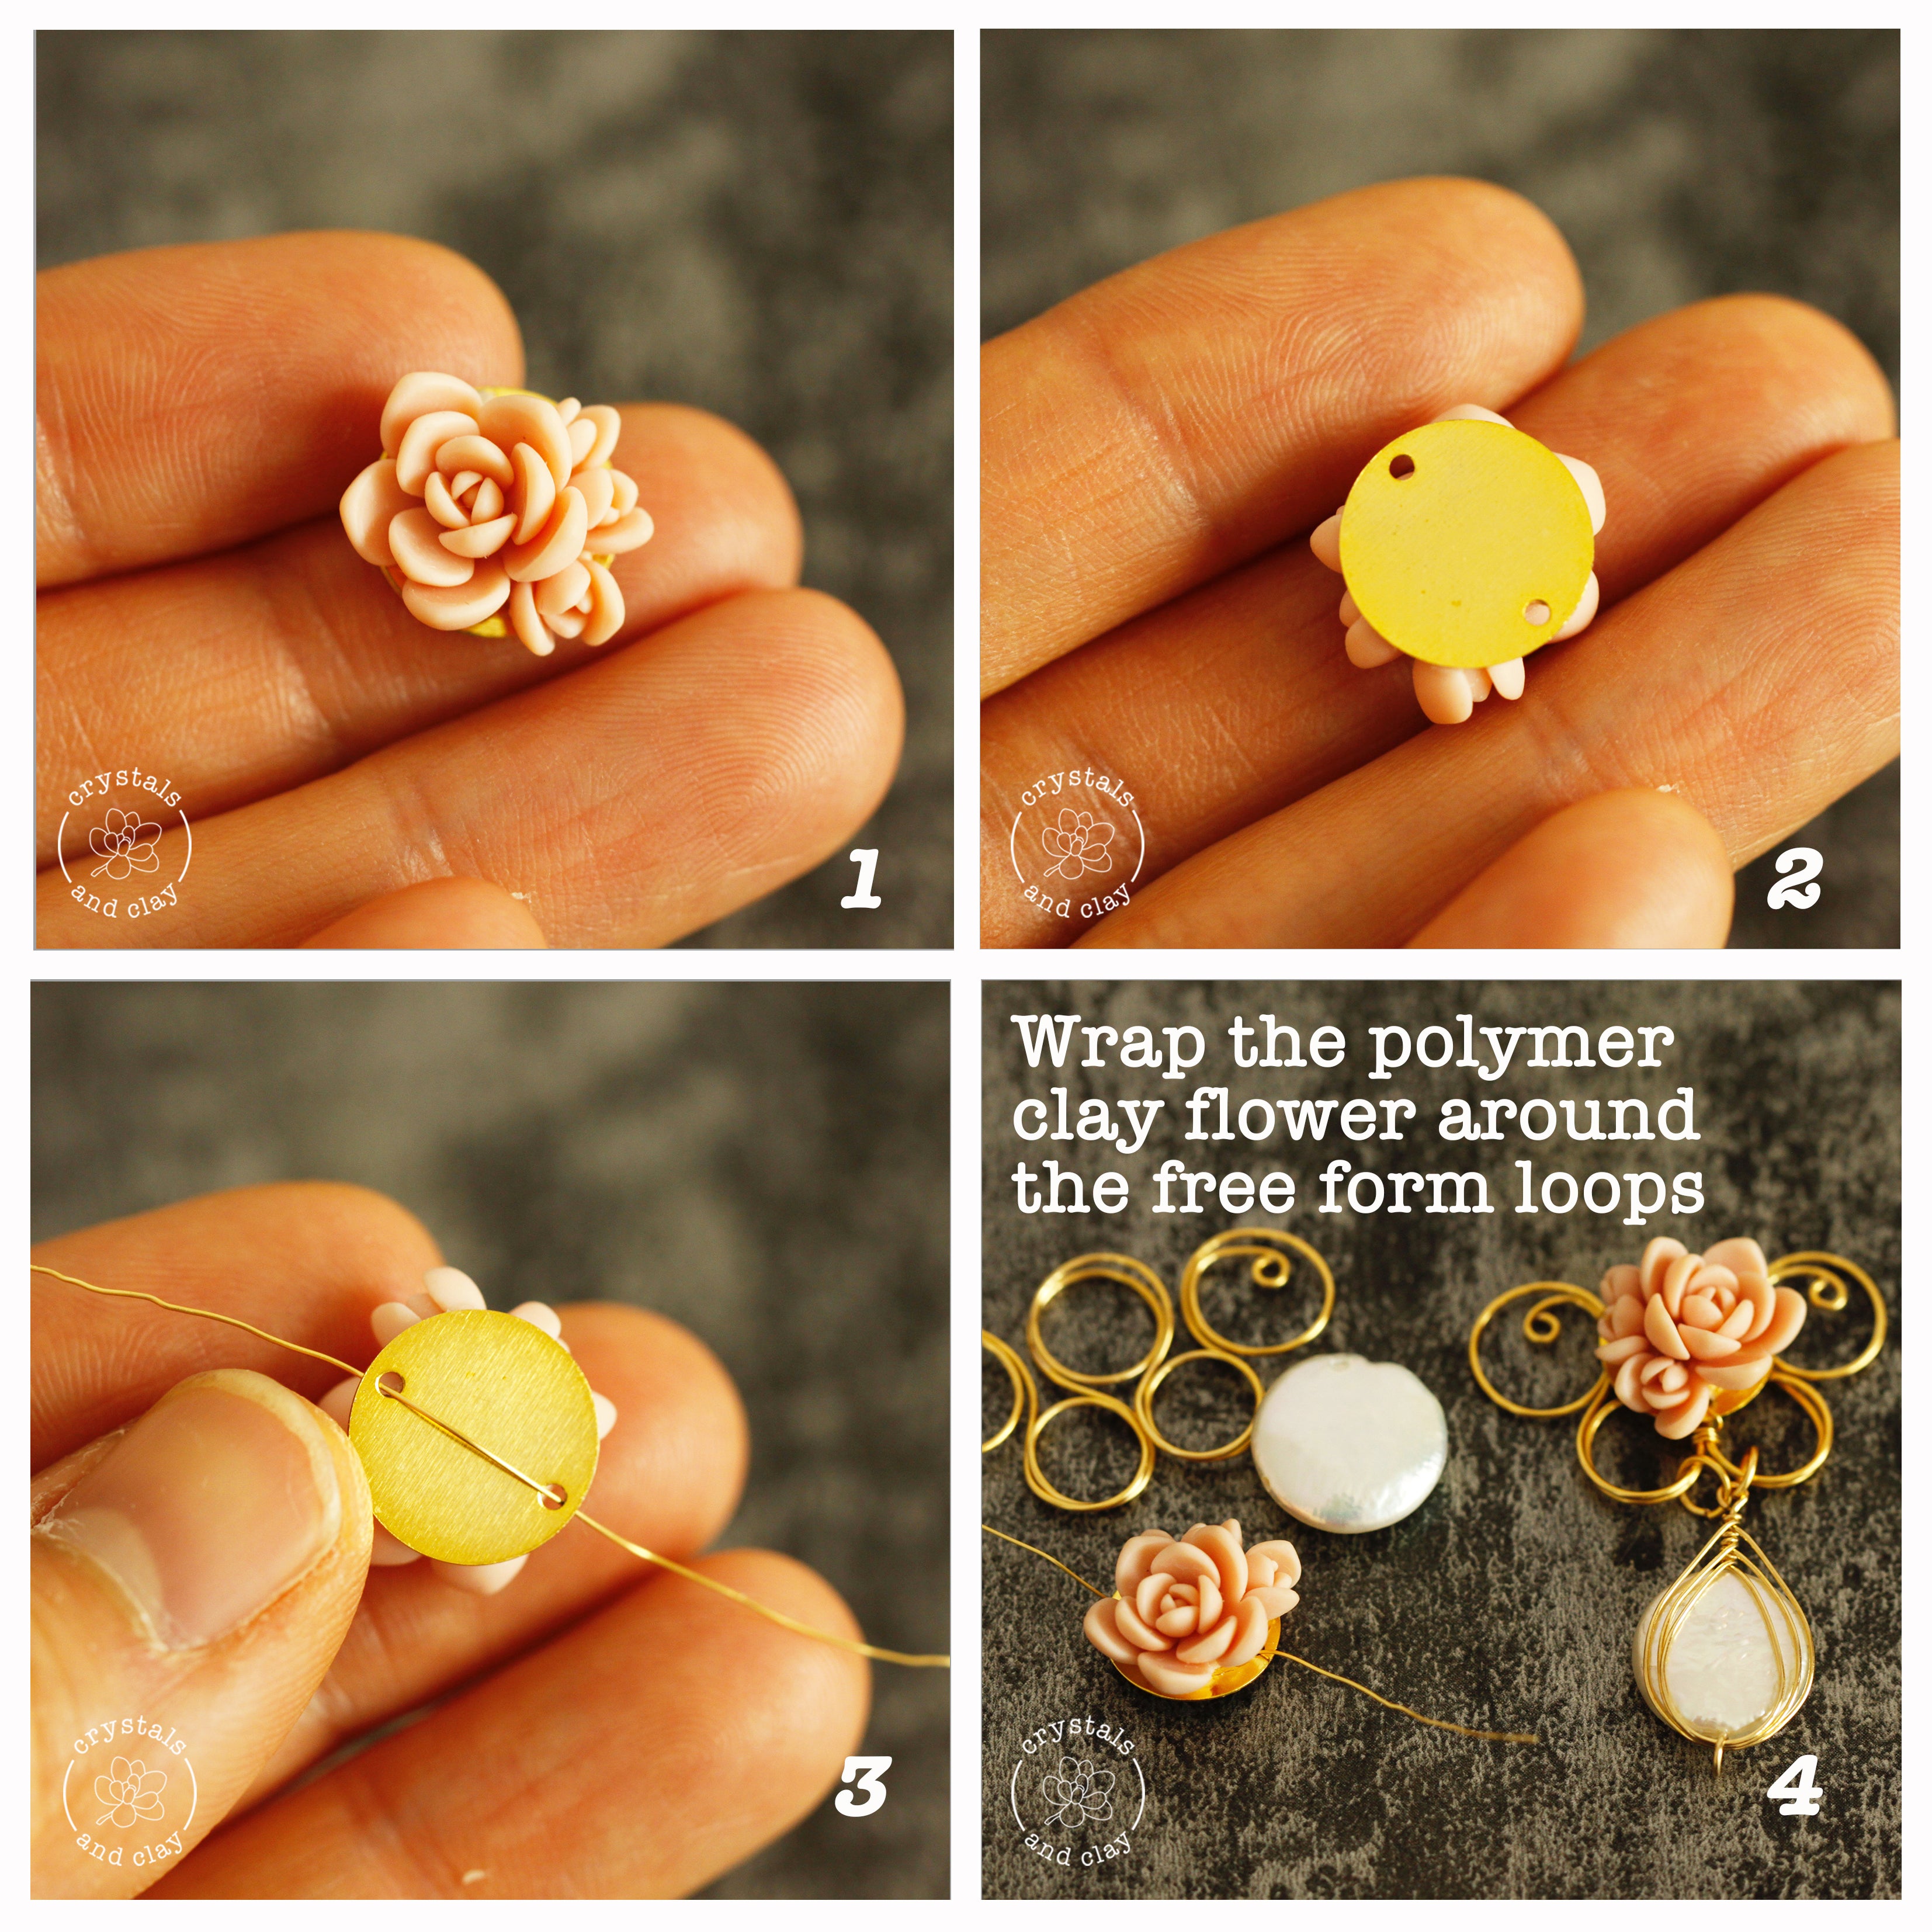
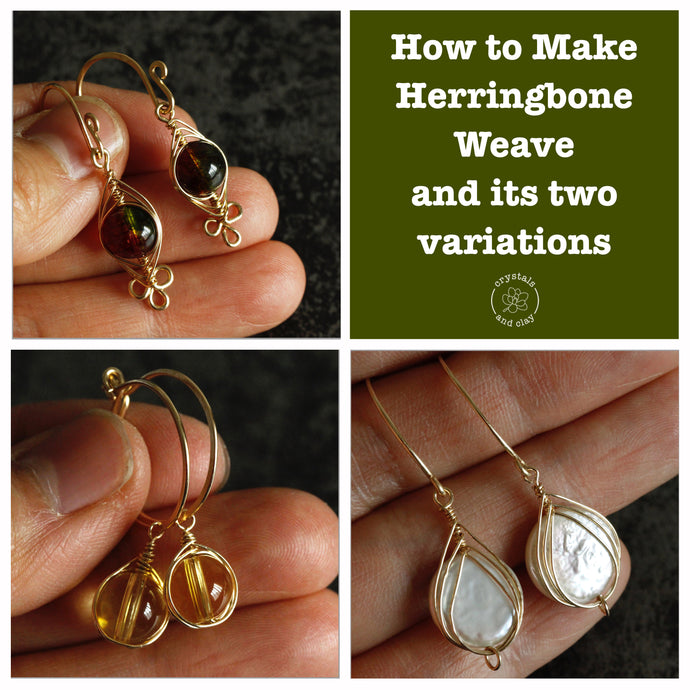
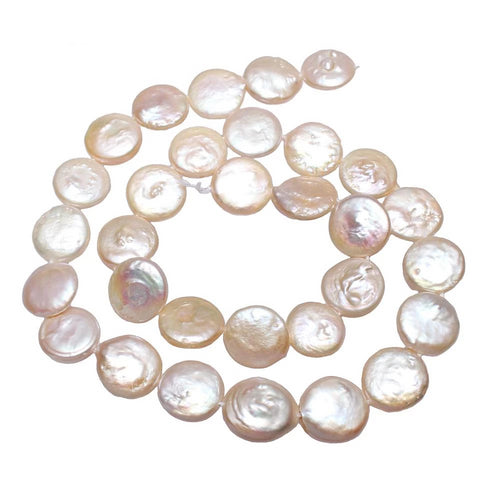
If you want to learn how to wrap the coin pearl bead as shown in the picture, read the tutorial here: Jewelry making basics 6 — Herringbone weave and its two variations
Now you can also order the polymer clay flowers hand made by me from the store. They are the beautiful and unique add-ons to your jewelry DIY project.
Hope you find this tutorial helpful! If you have any questions or ideas, please share them in the comment section below. Happy crafting!
Product Used In This Project
-
4mm 100 Pieces Czech Bicone Glass Beads (33 Colors)
![4mm 100 Pieces Czech Bicone Glass Beads (33 Colors)]()
- Regular price
- $7.95
- Sale price
- $7.95
- Unit price
- per
-
12-13mm 15inch Strand Cultured Freshwater Coin Pearl Beads
![12-13mm 15inch Strand Cultured Freshwater Coin Pearl Beads]()
- Regular price
- $25.12
- Sale price
- $25.12
- Unit price
- per
-
Handmade Polymer Clay Pink Succulent Beads (1 piece) for Jewelry Making DIY
![Handmade Polymer Clay Pink Succulent Beads (1 piece) for Jewelry Making DIY]()
- Regular price
- $15.00
- Sale price
- $15.00
- Unit price
- per
-
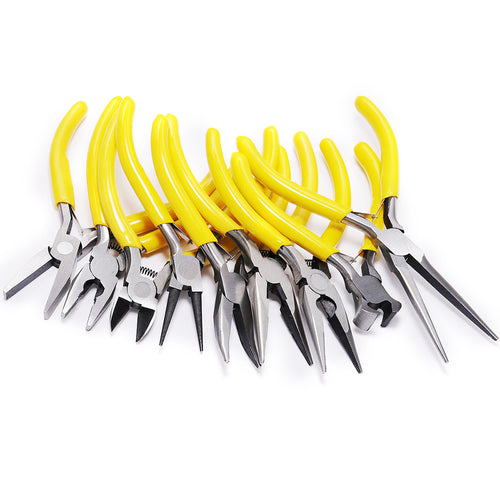
Multifunctional Hand Tools Jewelry Pliers for Jewelry Making DIY
![Multifunctional Hand Tools Jewelry Pliers for Jewelry Making DIY]()
- Regular price
- $8.30
- Sale price
- $8.30
- Unit price
- per