
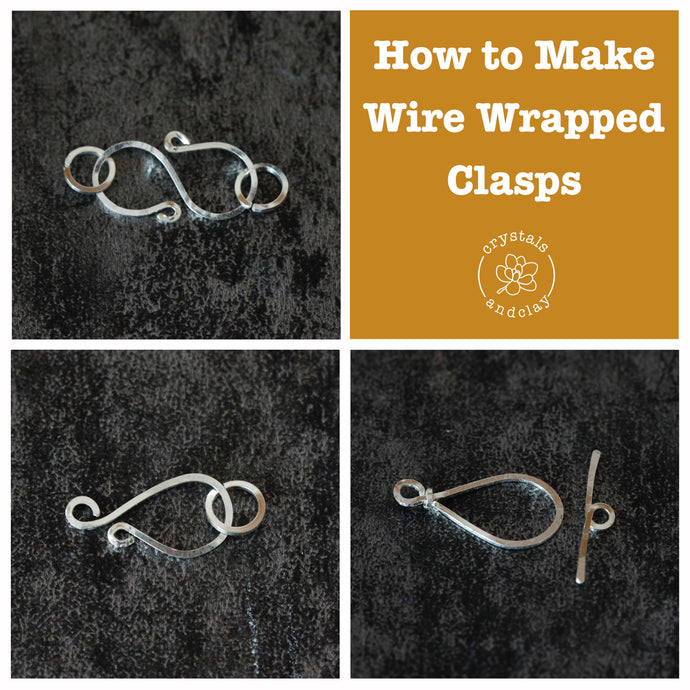
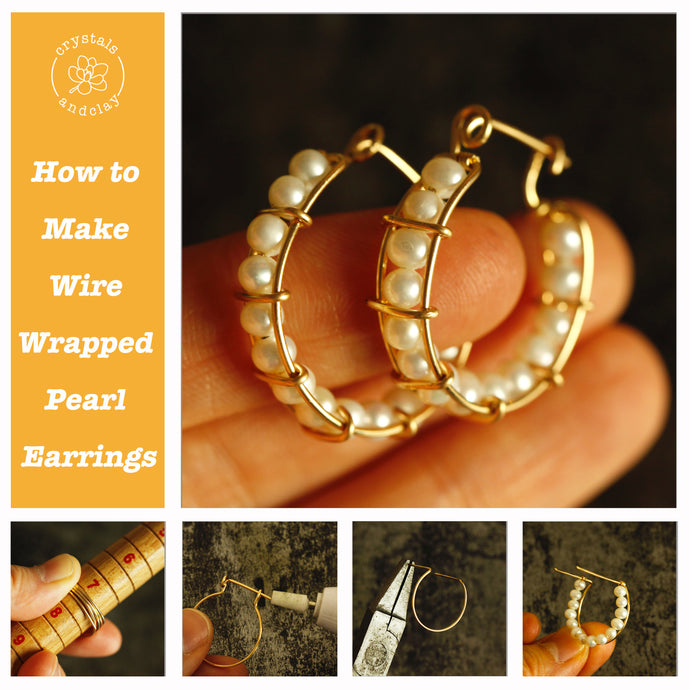
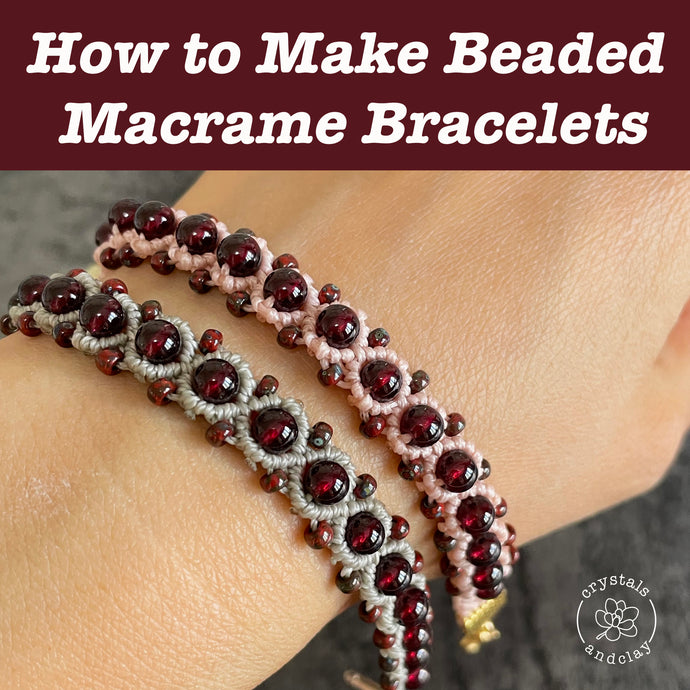
Jewery making basics 6 — Herringbone weave and its two variations
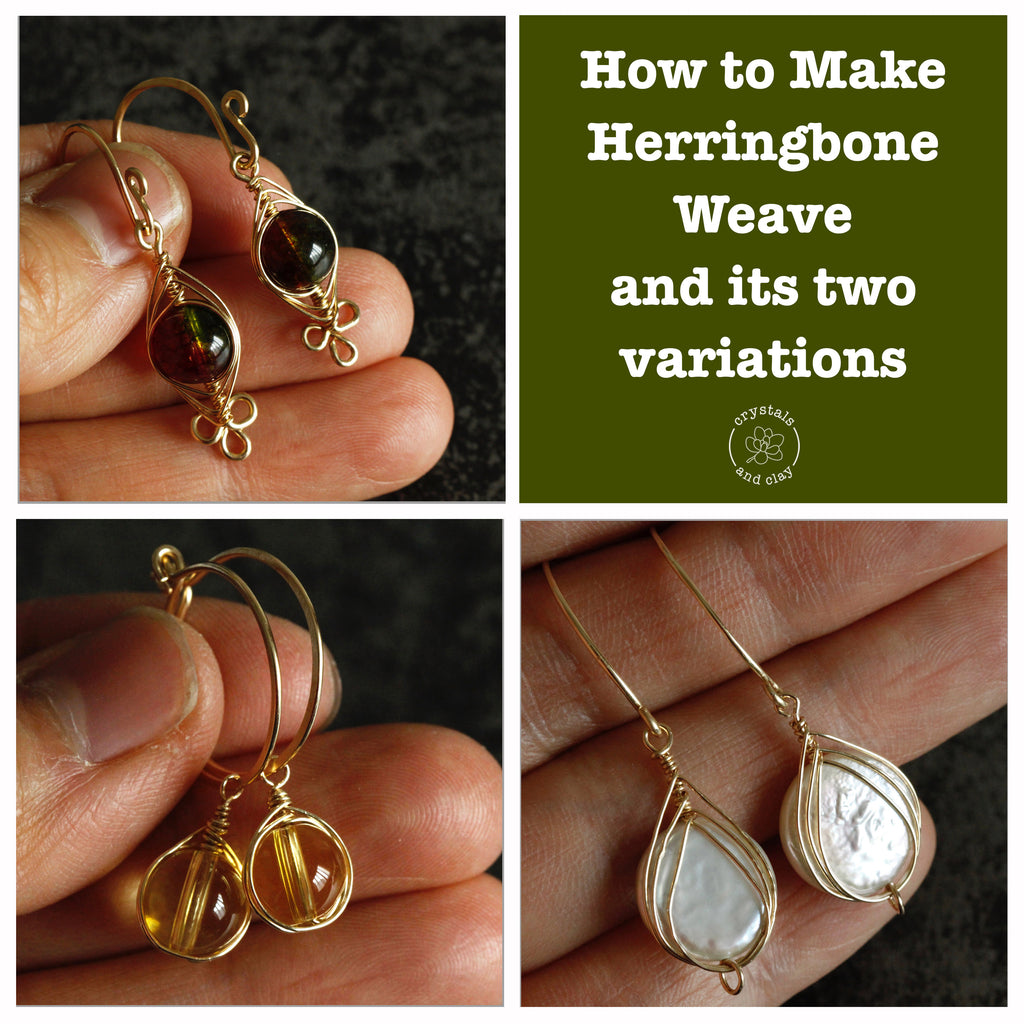
Today I want to share with you guys a simple and classic wire wrapping technique — herringbone weave. To make it more fun, I also tweaked the design and created two variations. Let’s get started!
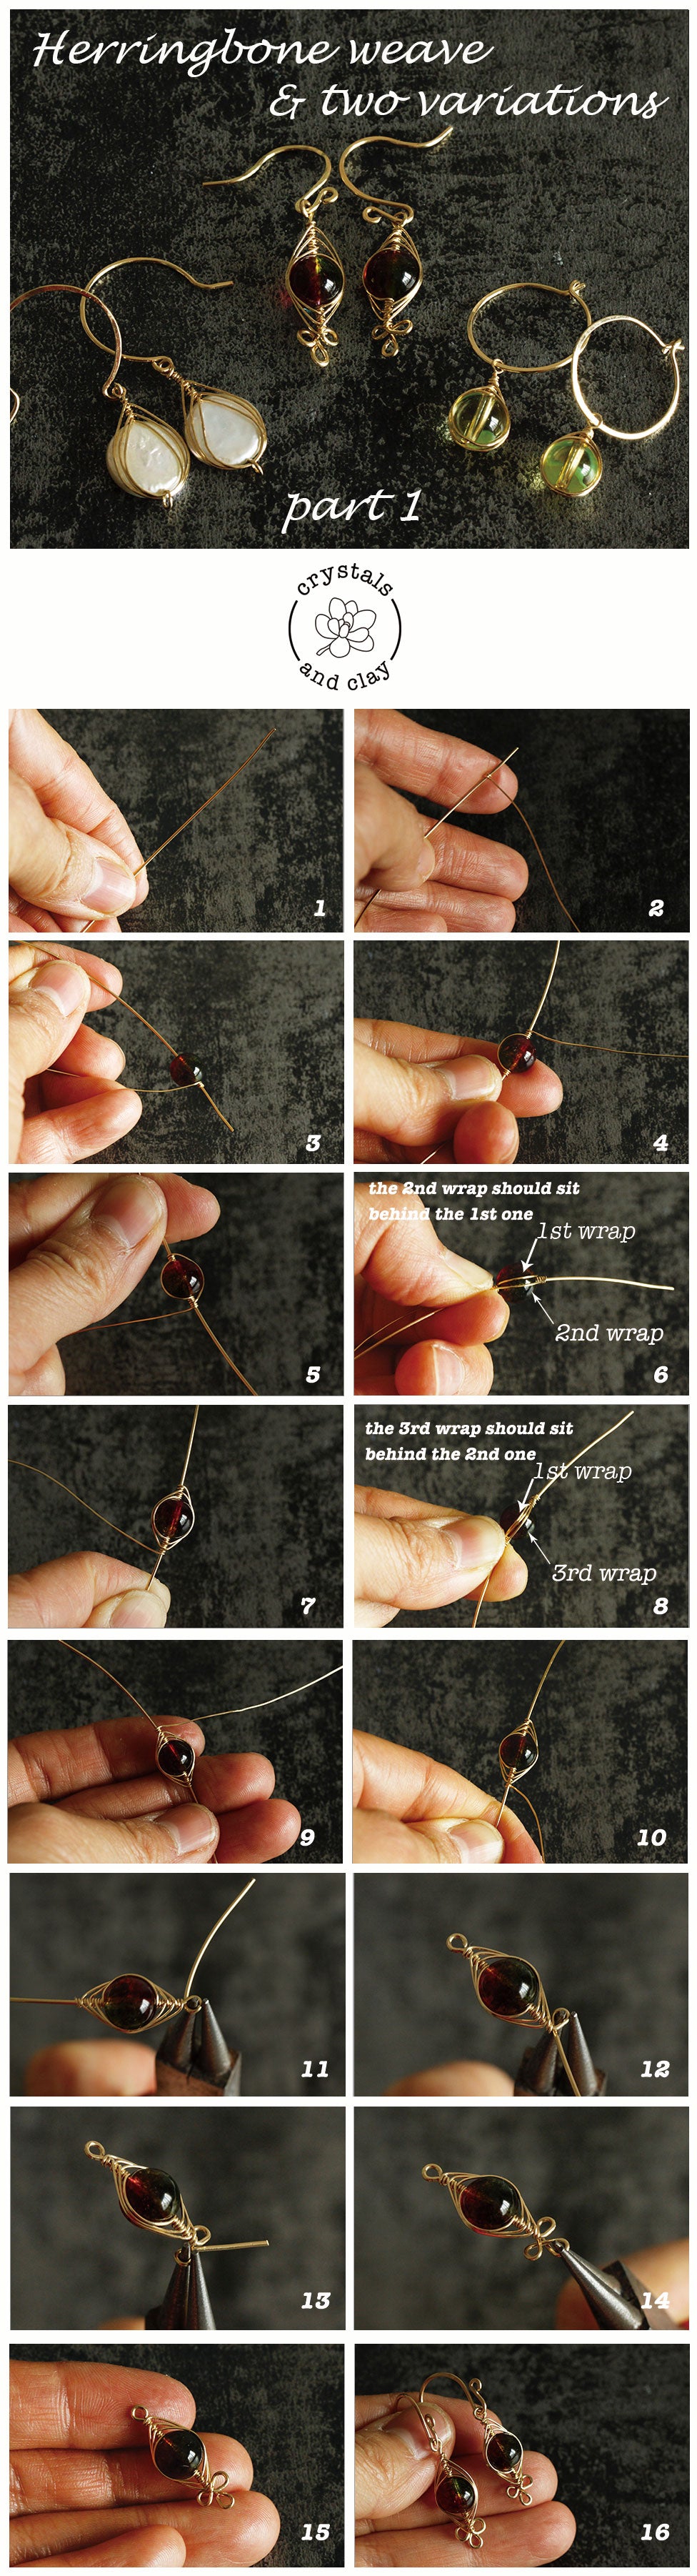
Design No.1 — Classic Herringbone Weave
Material needed
- 8cm (3inch) 20/22 gauge wire (half-hard or soft)
- 20cm (8inch) 26 gauge wire (soft)
- A bead of your choice (preferably 8mm or larger)
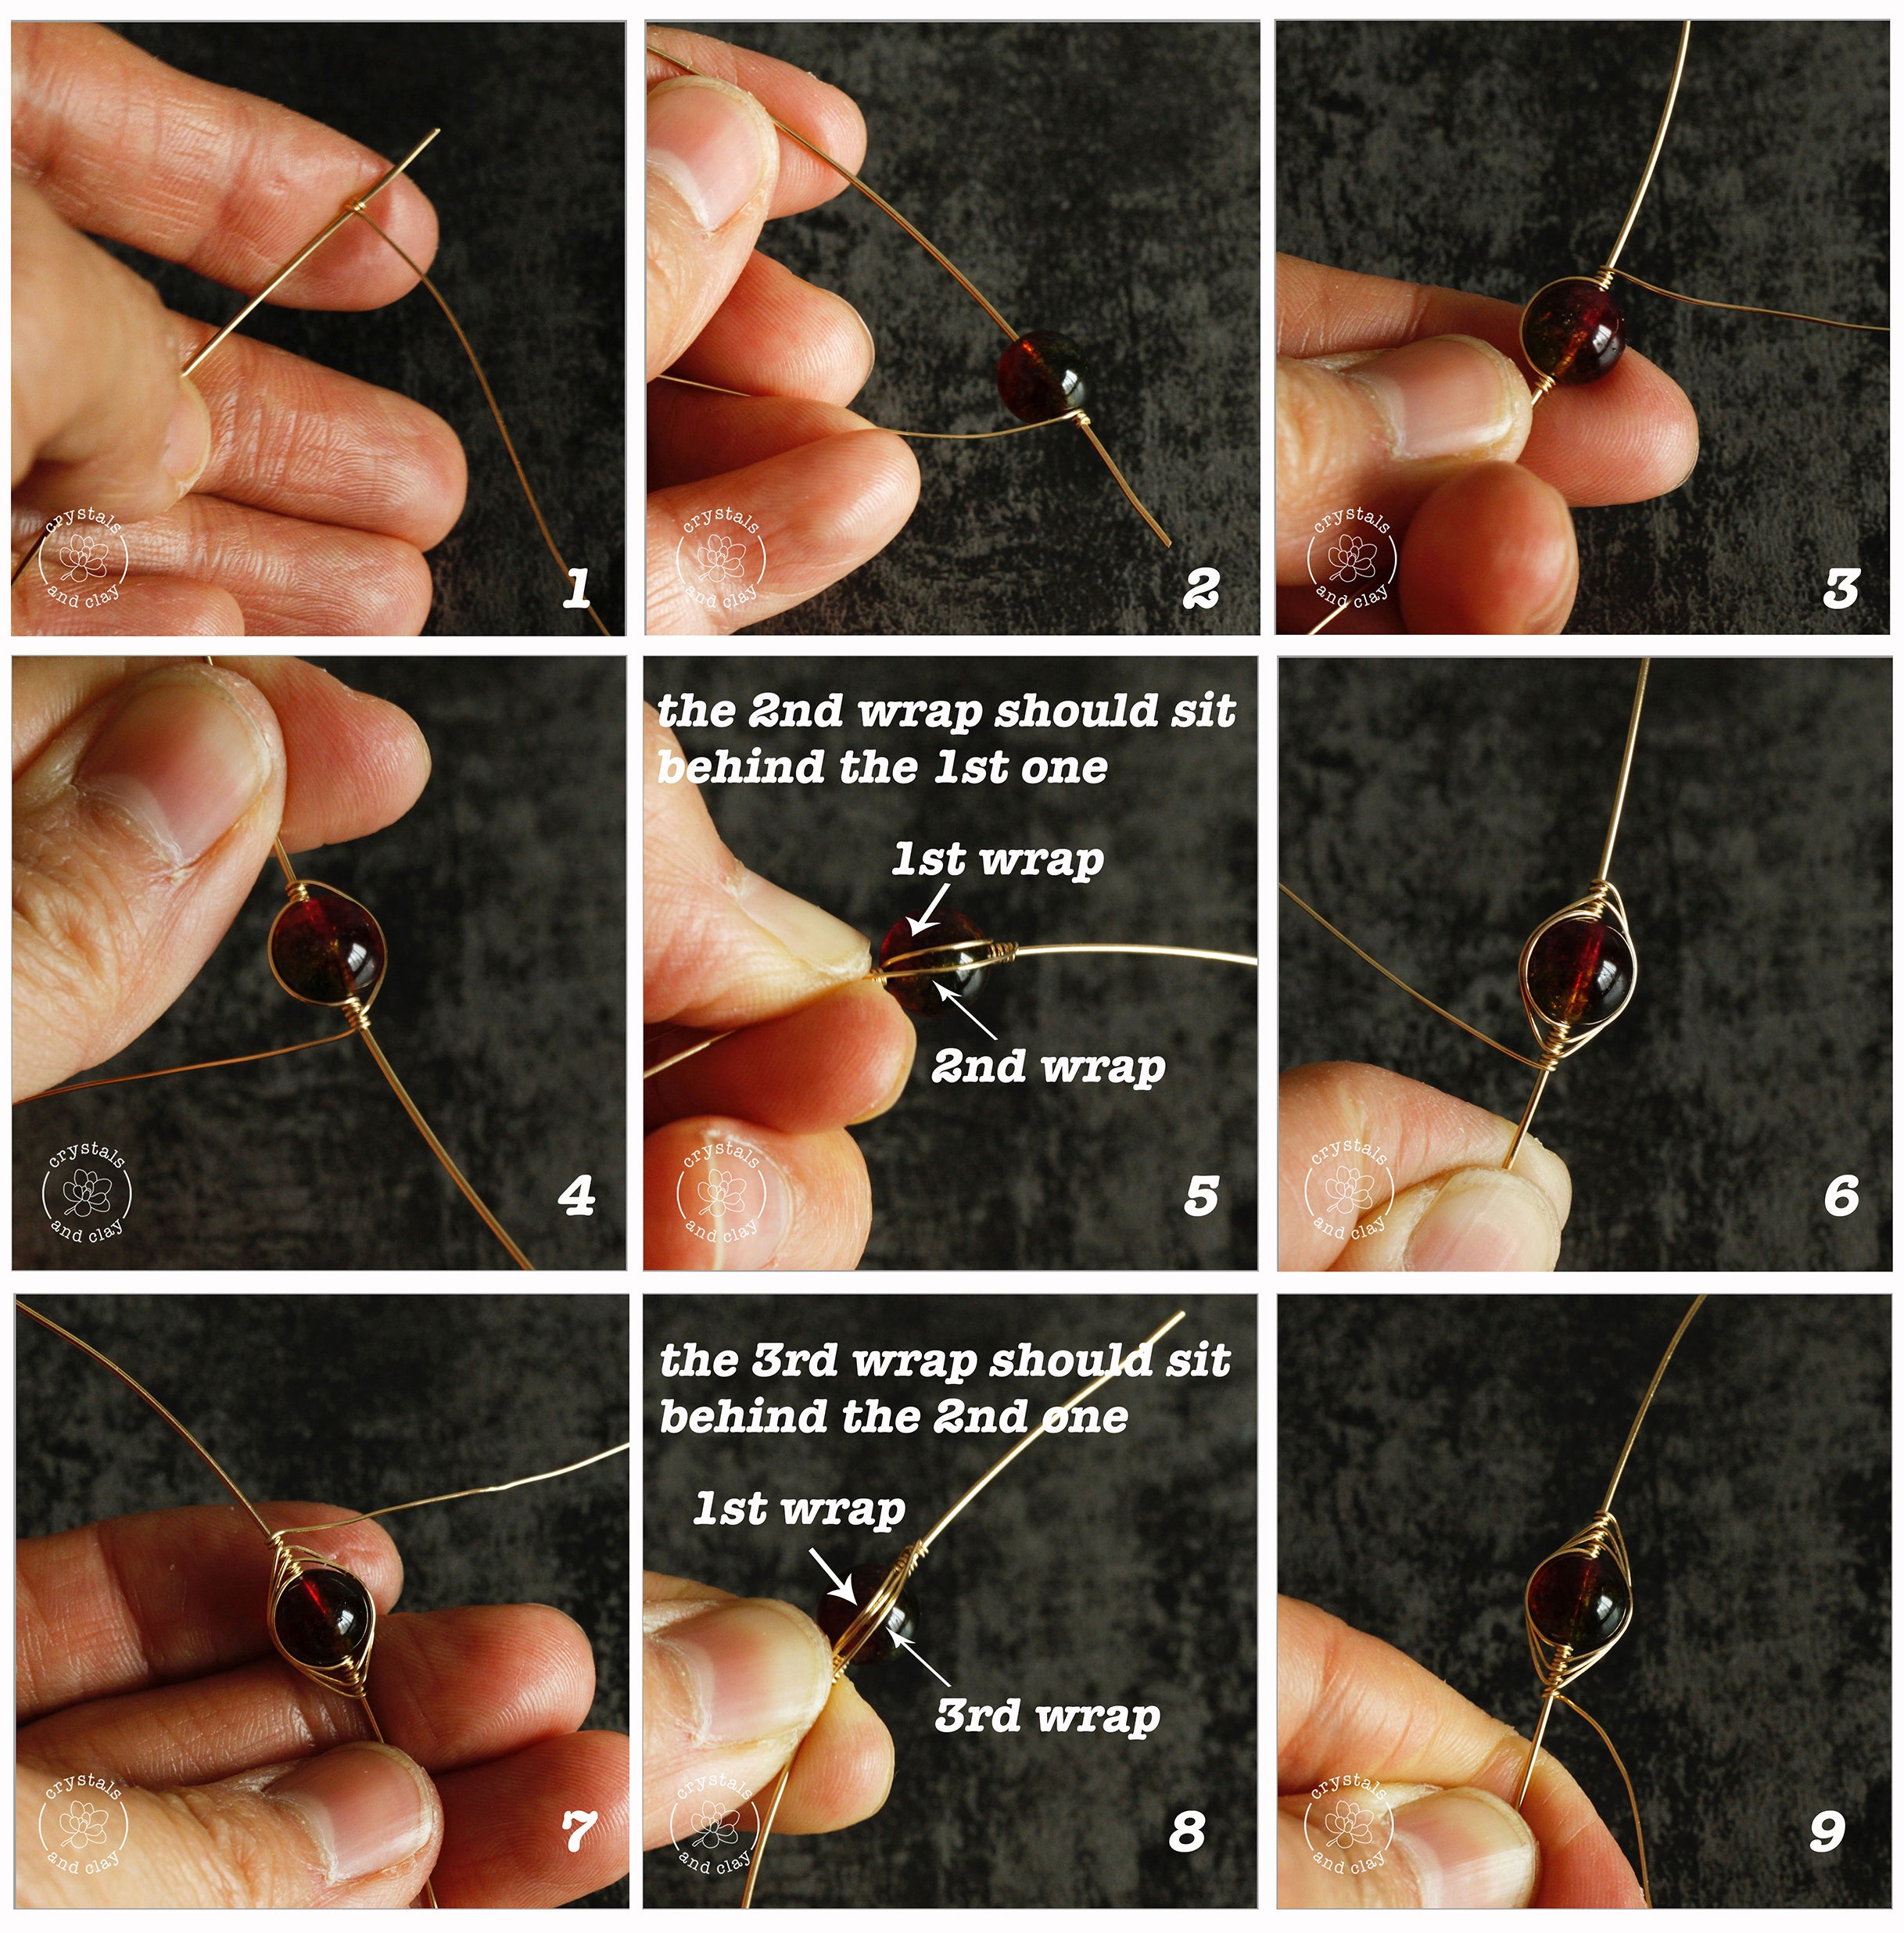
Step 1. The First Wrap
Using a piece of 26 gauge soft wire, make 3 or 4 wraps around the 22 gauge wire. Then slide the bead through the 22 gauge wire.
Wrap 26 gauge wire tightly around the bead and stop half way at the top. Secure the wire by wrapping 3-4 times as shown in picture 3.
Then continue wrapping the other half of the bead and stop at the bottom as shown in picture 4. Again, secure the wire by wrapping 3-4 times.
Step 2. The Second and Third Wrap
Continue wrapping the bead. This time, keep the wire behind the first round (picture 5). Stop at both ends of the bead and make the wrap 3-4 times each.
The third wrap is the same as the previous two. Again, keep the wire behind the second round as shown in picture 8. Now you should have a symmetrical weaving pattern as in picture 9.
Although I stopped at the third wrap, you can certainly add more based on your design.
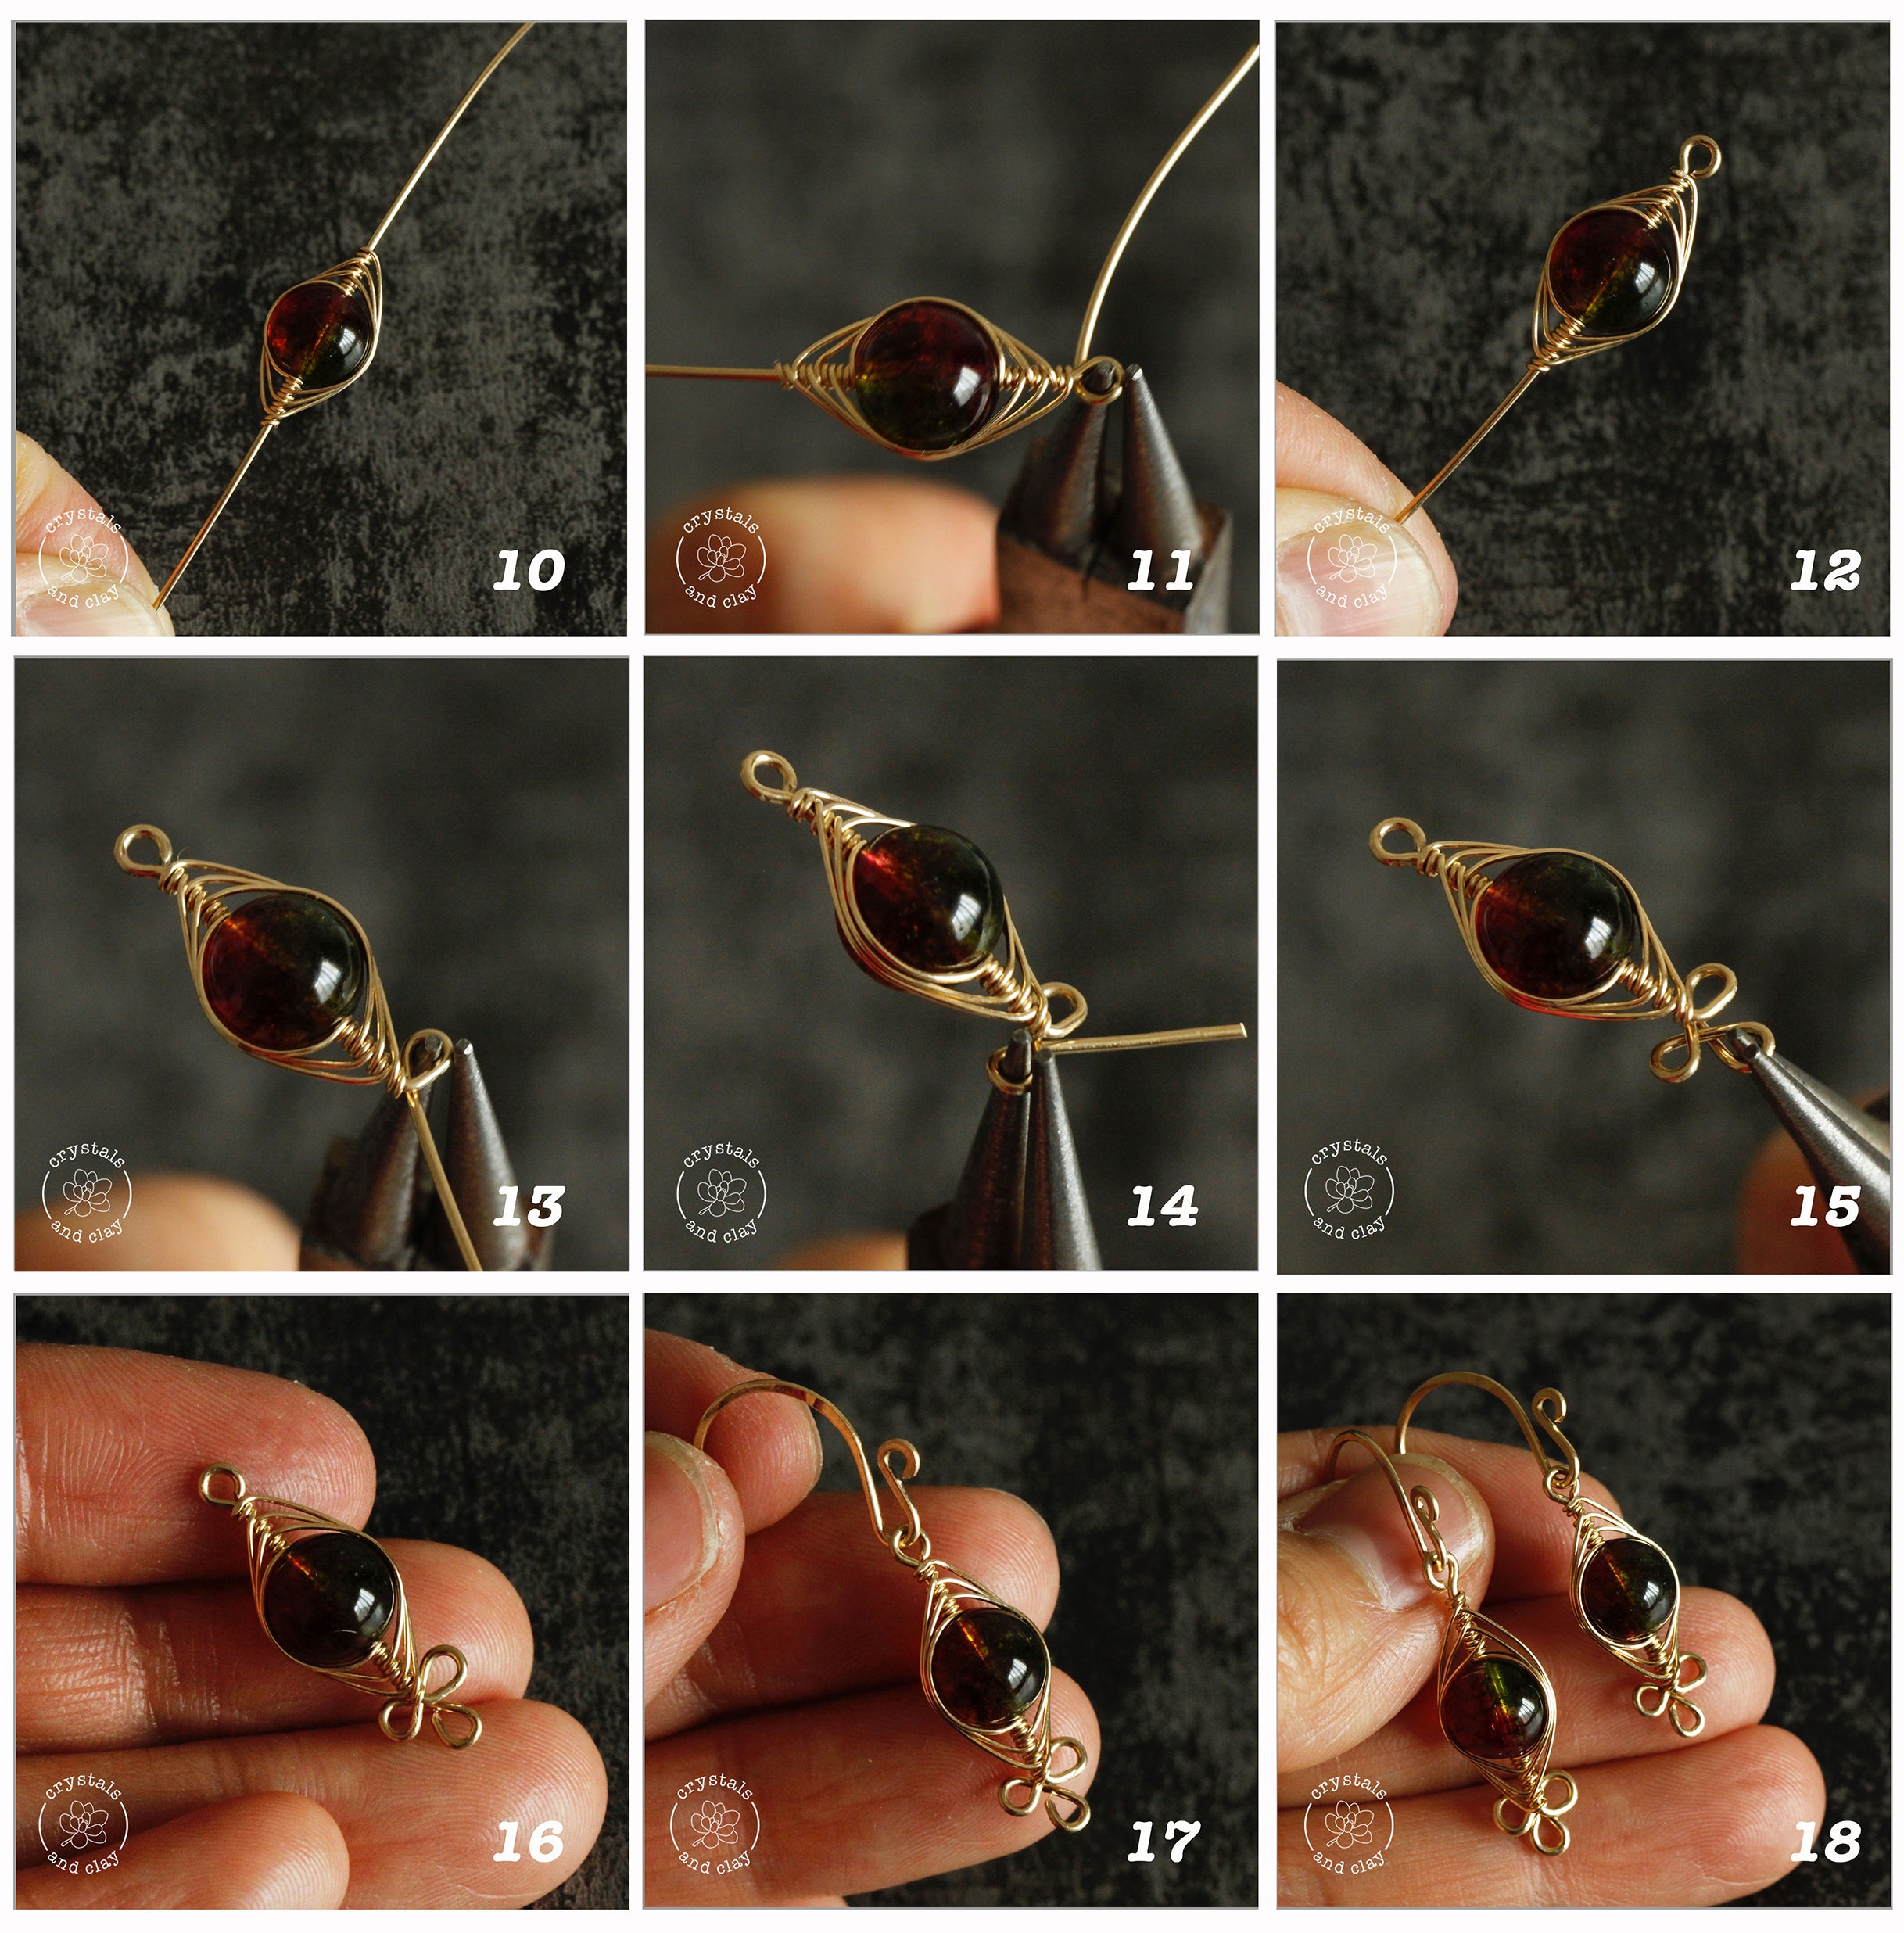
Step 3. Finish Both Ends
Cut the excess 26 gauge wire. Then create a simple loop at one end of the bead. For the other end, you can make decorative loops as I did in the picture, or create a simple loop and attach more beads to it.
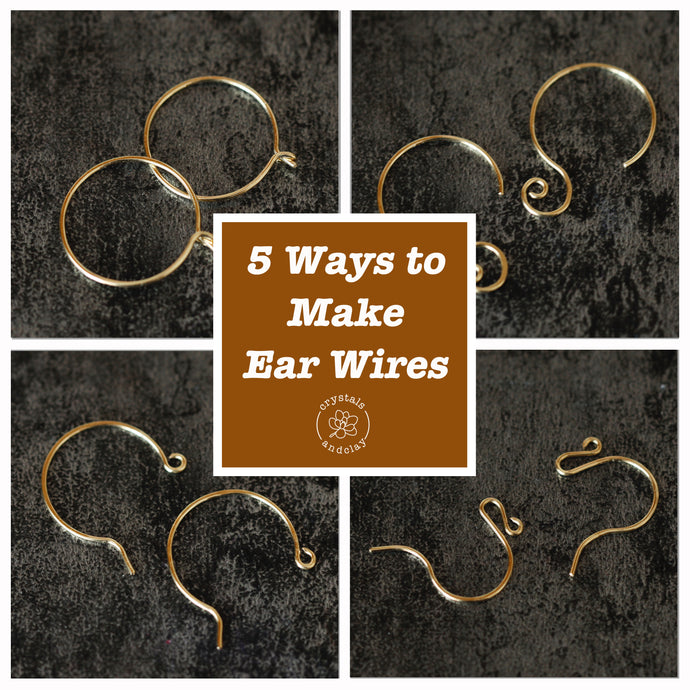
Add an earring hook to the wrapped bead and you got a beautiful earring to wear! By the way, if you are unfamiliar with making earring hooks, you can learn how to make them here.
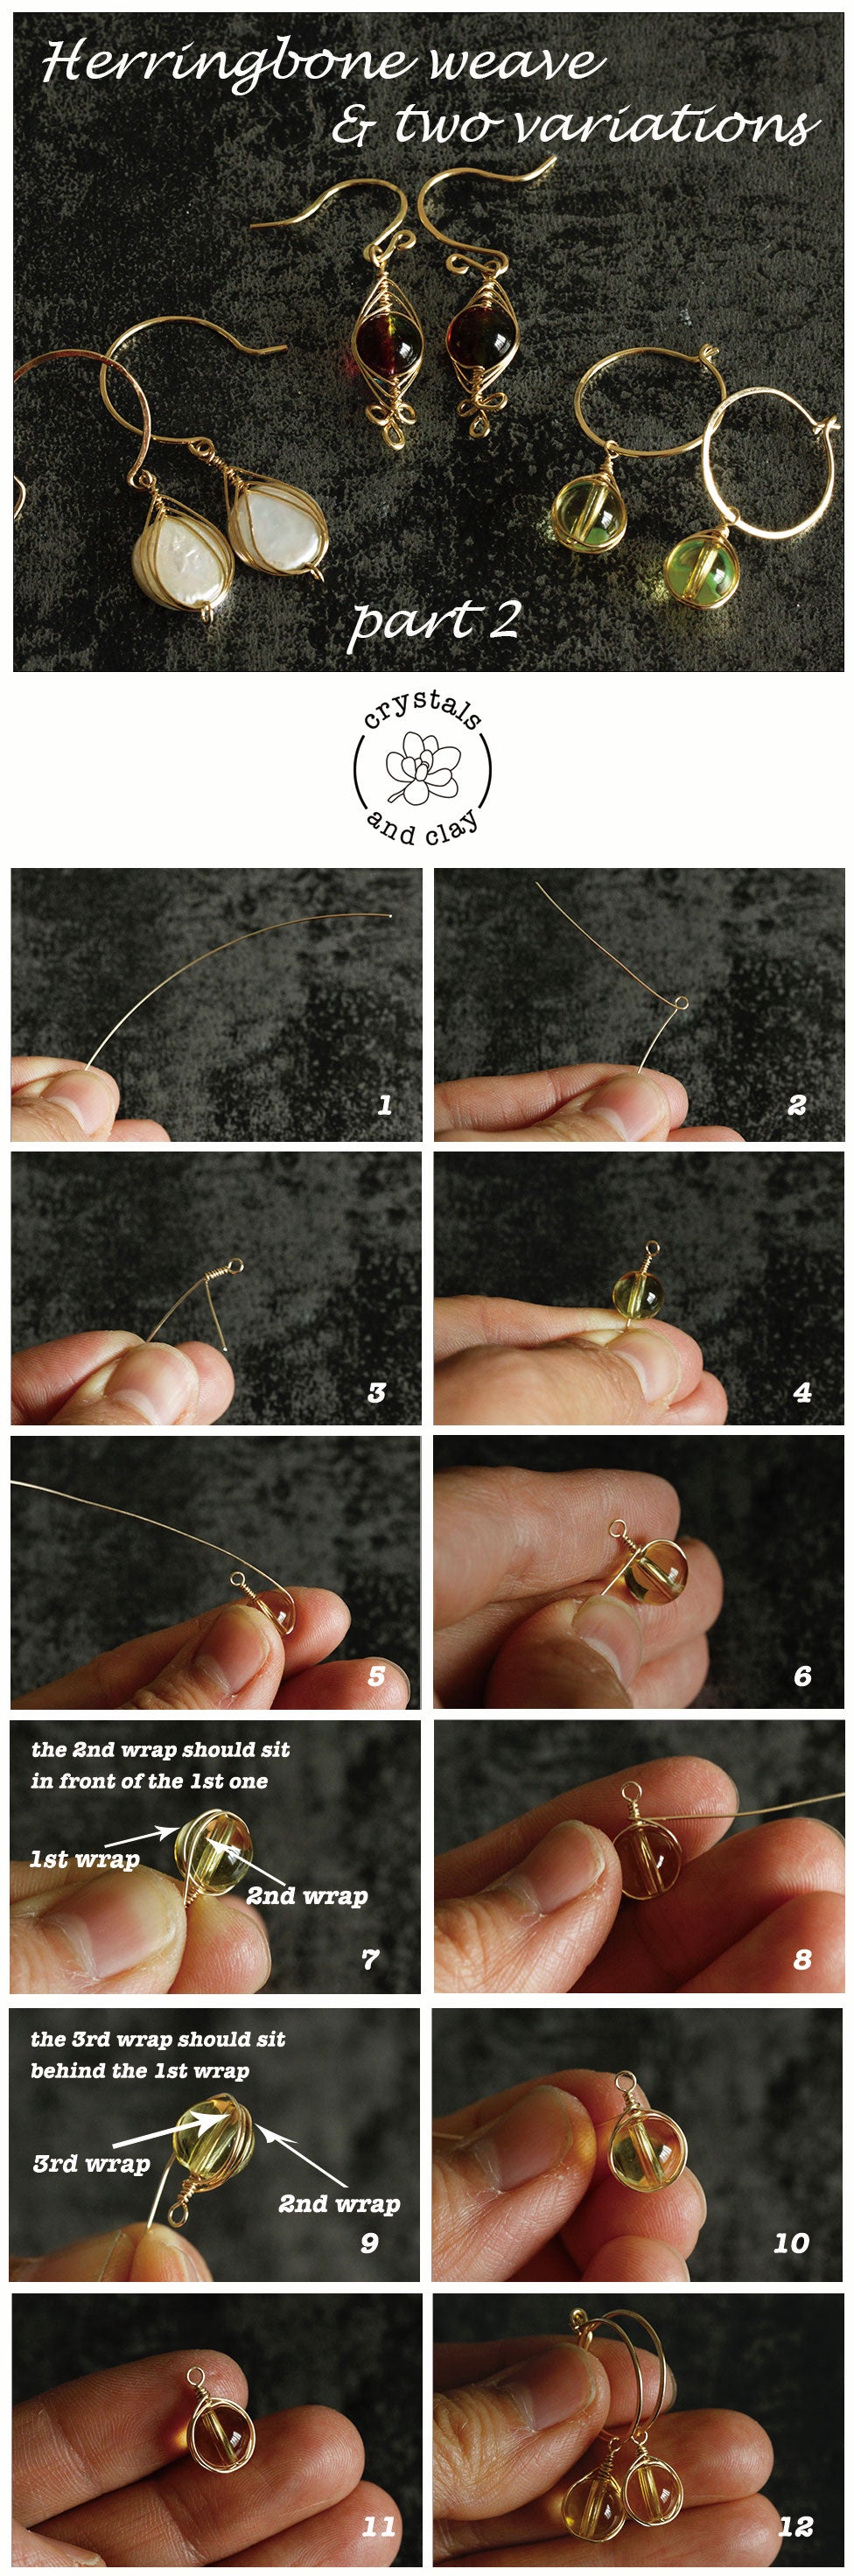
Design No.2 — One Side Herringbone Weave
Instead of wrapping both ends of the bead and creating a symmetrical weave pattern, we can wrap only at the top of the bead. I call this design one side herringbone weave.
Material needed
- 15cm (6inch) 26 gauge wire (soft)
- A bead of your choice (preferably 8mm or larger)
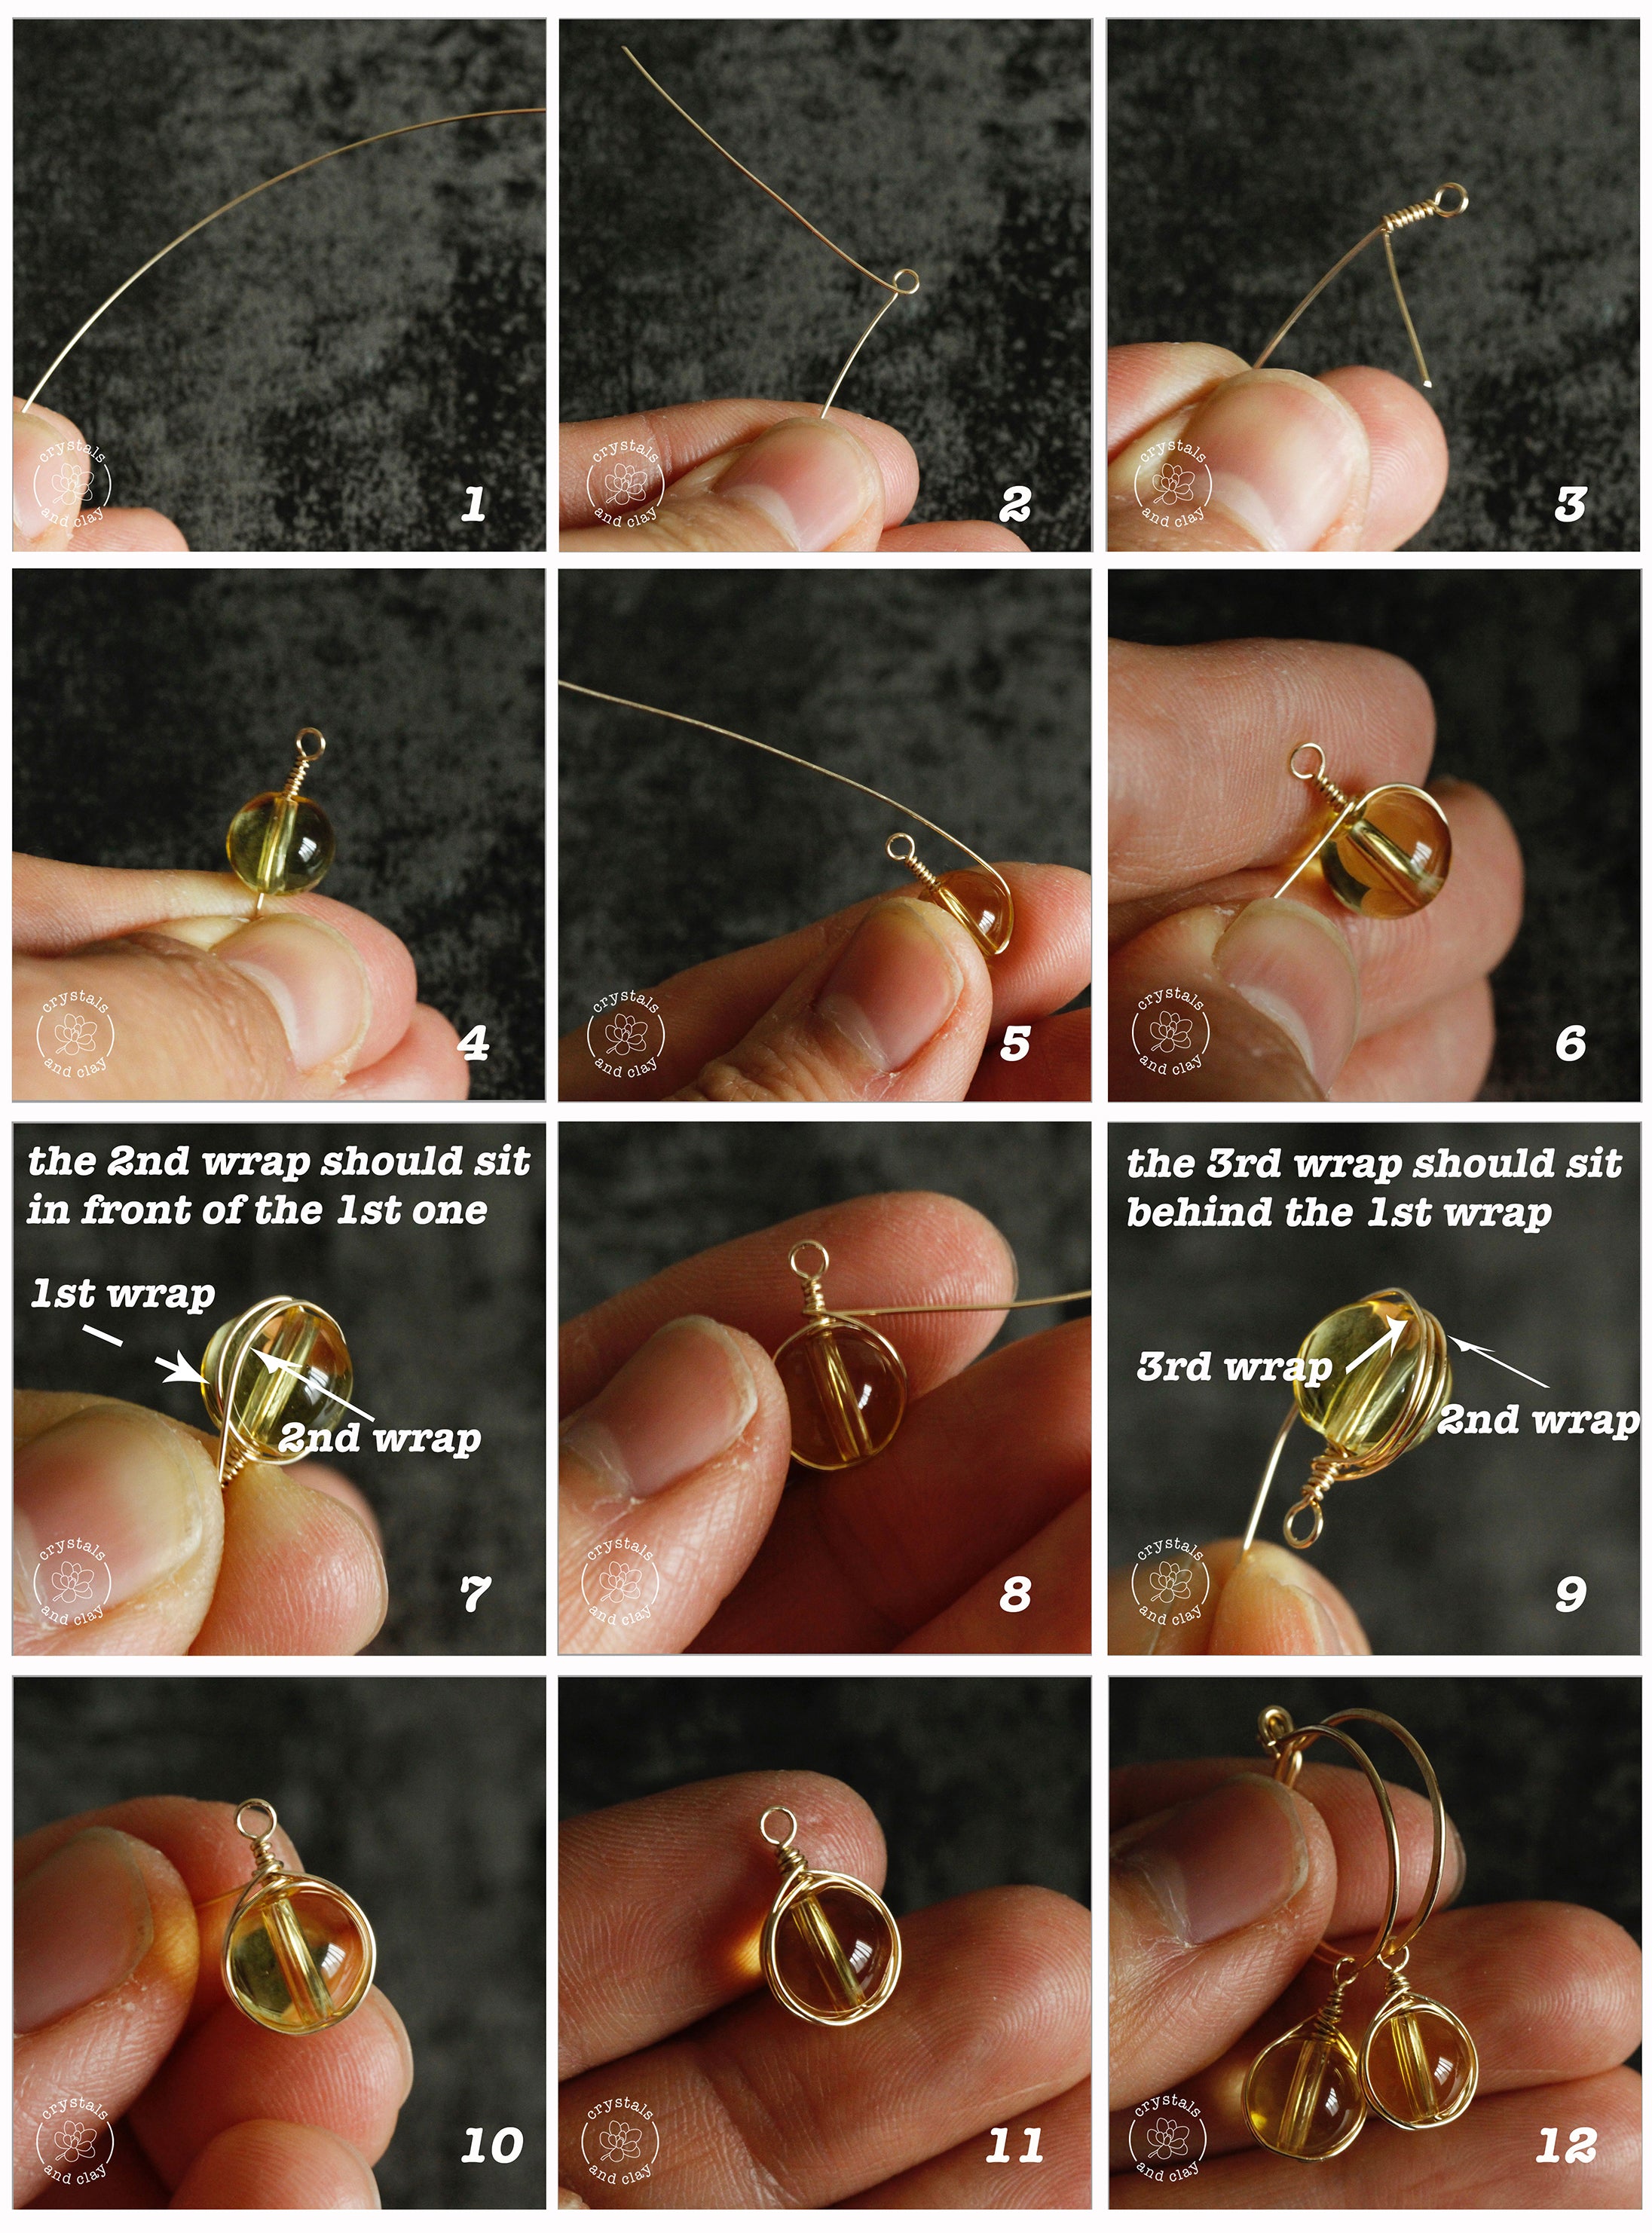
Step 1. The First Wrap
Take a piece of 26 gauge wire and make a long secured loop at the top. Make sure to wrap at least 8-10 times as shown in picture 3. If you don’t know how to make a secured loop, check this post here.
Slide the bead through. Then bend the wire upwards to make the first wrap as shown in picture 5. When the wire reaches the top of the bead, stop and make a wrap as shown in picture 6.
Step 2. The Second and Third Wrap
After securing the top, continuing wrapping around the bead. Unlike the classic herringbone, in this design we don’t weave the wire at the bottom of the bead. Instead, the wire should go all the way to the top as shown in picture 7. Remember to keep this second wrap in front of the first one.
As in picture 8, bend the wire around the top to change the direction. Then continue making the third wrap. This time, the wire should go behind the first one (picture 9).
Secure the wire at the top of the bead and cut the excess. Now the bead is ready to use.
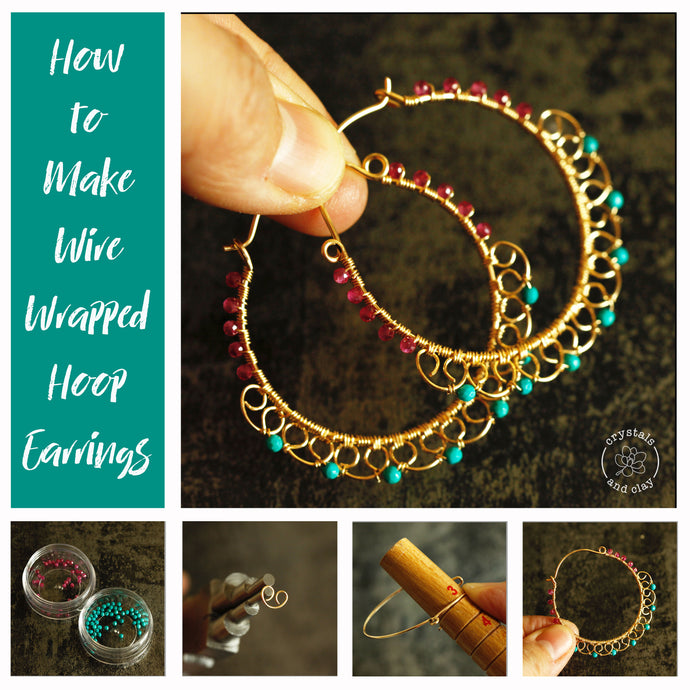
Design No. 3 — Teardrop Herringbone Weave
Material Needed
- 10cm (4inch) 22 gauge wire (half hard or soft)
- 20cm (8inch) 26 gauge wire (soft)
- A flat bead of your choice (preferably 10mm or larger)
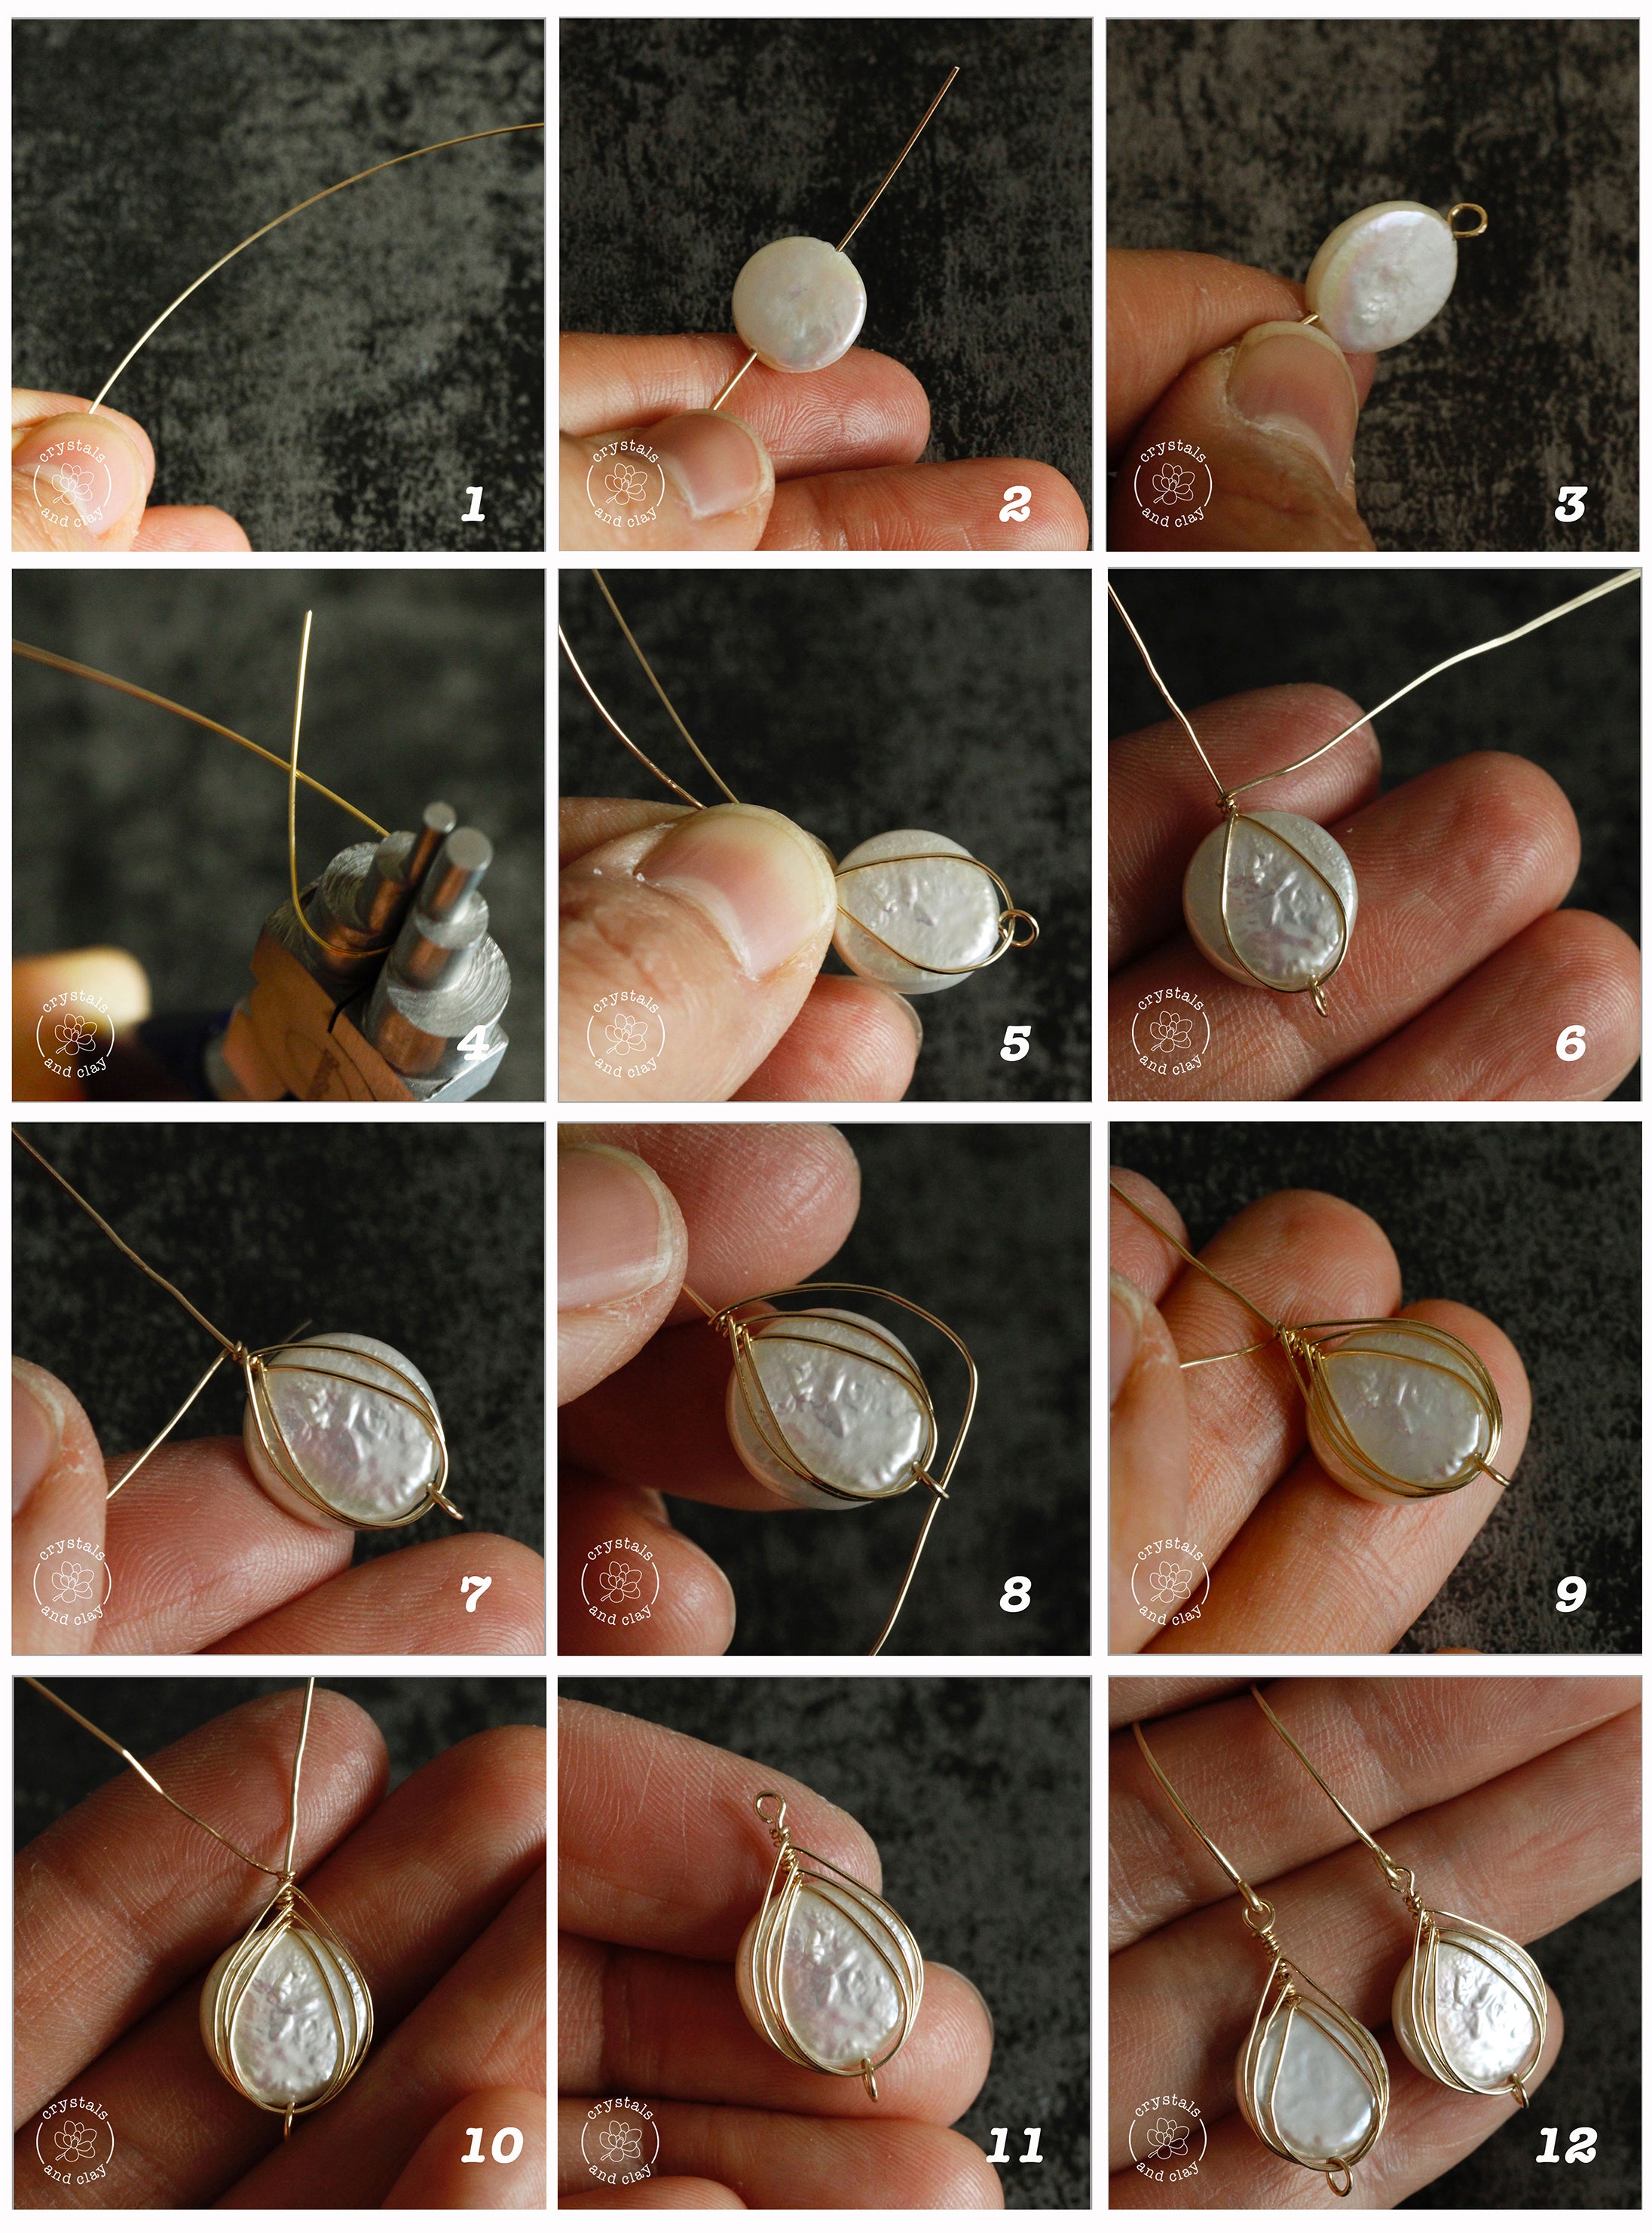

Step 1. The First Wrap
Take a piece of 22 gauge wire and slide a flat bead through. Then make a simple loop at one end.
Using a looping plier, form a piece of 26 wire into a small teardrop shape (picture 4). Then slide the teardrop into the loop we just made (picture 5).
Wrap the shorter end of the teardrop once at the top of the bead and cut out the excess. Then using the longer end of the teardrop to wrap around the top 2-3 times.
Step 2. The Second and Third Wrap
Once the teardrop is secured, we can start making the second wrap as shown in picture 7. Again, stop at the top of the bead and wrap 2-3 times.
Continue making the third wrap. Keep the wire straight so the teardrop shape won’t get distorted. Secure the third wrap at the top of bead and cut out any excess 26 gauge wire.
Finally, form a loop at the top of the bead and cut out any excess. You can use the framed bead to make earrings, bracelet or necklace. The possibilities are endless.
If you like today’s tutorial, please share it with your friends by pining the complete picture guide below. Thank you.

Product Used In This Project
-
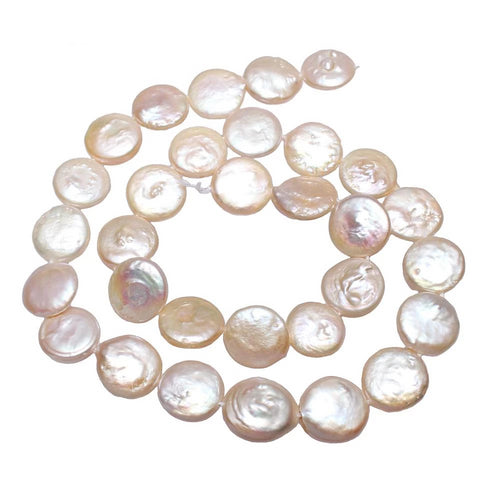
12-13mm 15inch Strand Cultured Freshwater Coin Pearl Beads
![12-13mm 15inch Strand Cultured Freshwater Coin Pearl Beads]()
- Regular price
- $25.12
- Sale price
- $25.12
- Unit price
- per
-
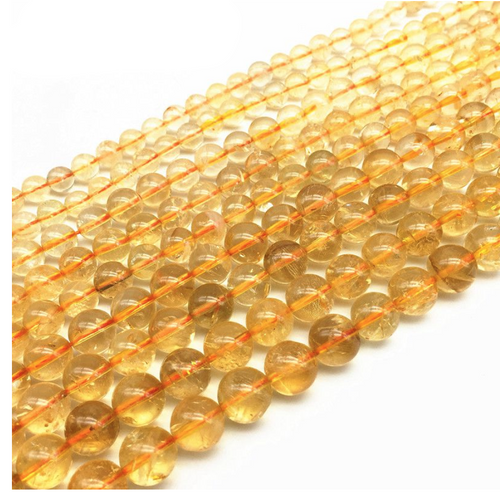
4/6/8/10/12/14mm 14.9inch Natural Citrine Crystal Round Beads
![4/6/8/10/12/14mm 14.9inch Natural Citrine Crystal Round Beads]()
- Regular price
- $11.71
- Sale price
- $11.71
- Unit price
- per
-
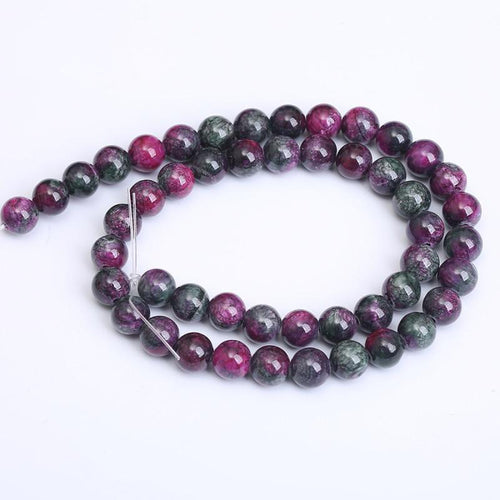
6/8/10/12mm Natural Tourmaline Jade Round Beads Red Chalcedony(Rose and Green Color)
![6/8/10/12mm Natural Tourmaline Jade Round Beads Red Chalcedony(Rose and Green Color)]()
- Regular price
- $11.32
- Sale price
- $11.32
- Unit price
- per
-
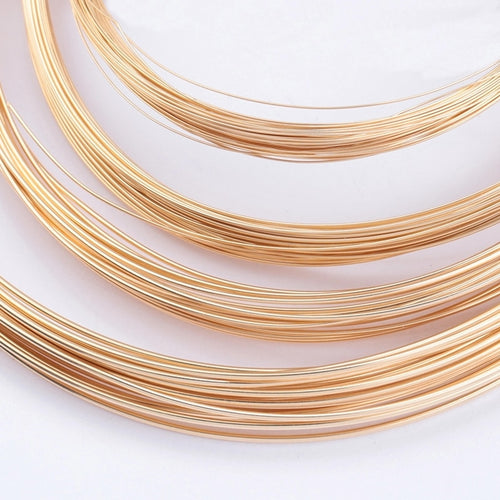
20-30 gauge (0.25--0.8mm) Half Hard 14k Gold Filled Wire
![20-30 gauge (0.25--0.8mm) Half Hard 14k Gold Filled Wire]()
- Regular price
-
$37.10 - Sale price
- $26.12
- Unit price
- per


I so enjoy your work will try tomorrow with some of your work i wil stay in touch
Thank you for providing such clear and concise instructions. I will definitely be practicing this. Your work is stunning btw x
luv your post especially since I am new to jewelry making
Congratulations..Thank you!!!! I am jewelry designer and creator I have e shop through etsy.com and faceartnet.com ..you’ll find me through Instagram. Fb, Twitter and the link. …linktr.ee/kalligasart…..my brand “kalligasart” jewelry…Greek brand/Athens….www.kalligasart.blogspot.com