
How to Make Autumn Theme Polymer Clay Succulent Earrings

If you’ve read my polymer clay tutorials before, you know I don’t like any guess work. In the post, I’ll show you the structure of each succulent, the size of each petal, and the color recipes for all three succulents. This is a very informative post and you can learn a ton from it. So read on!
1. Orange Yellow Succulent
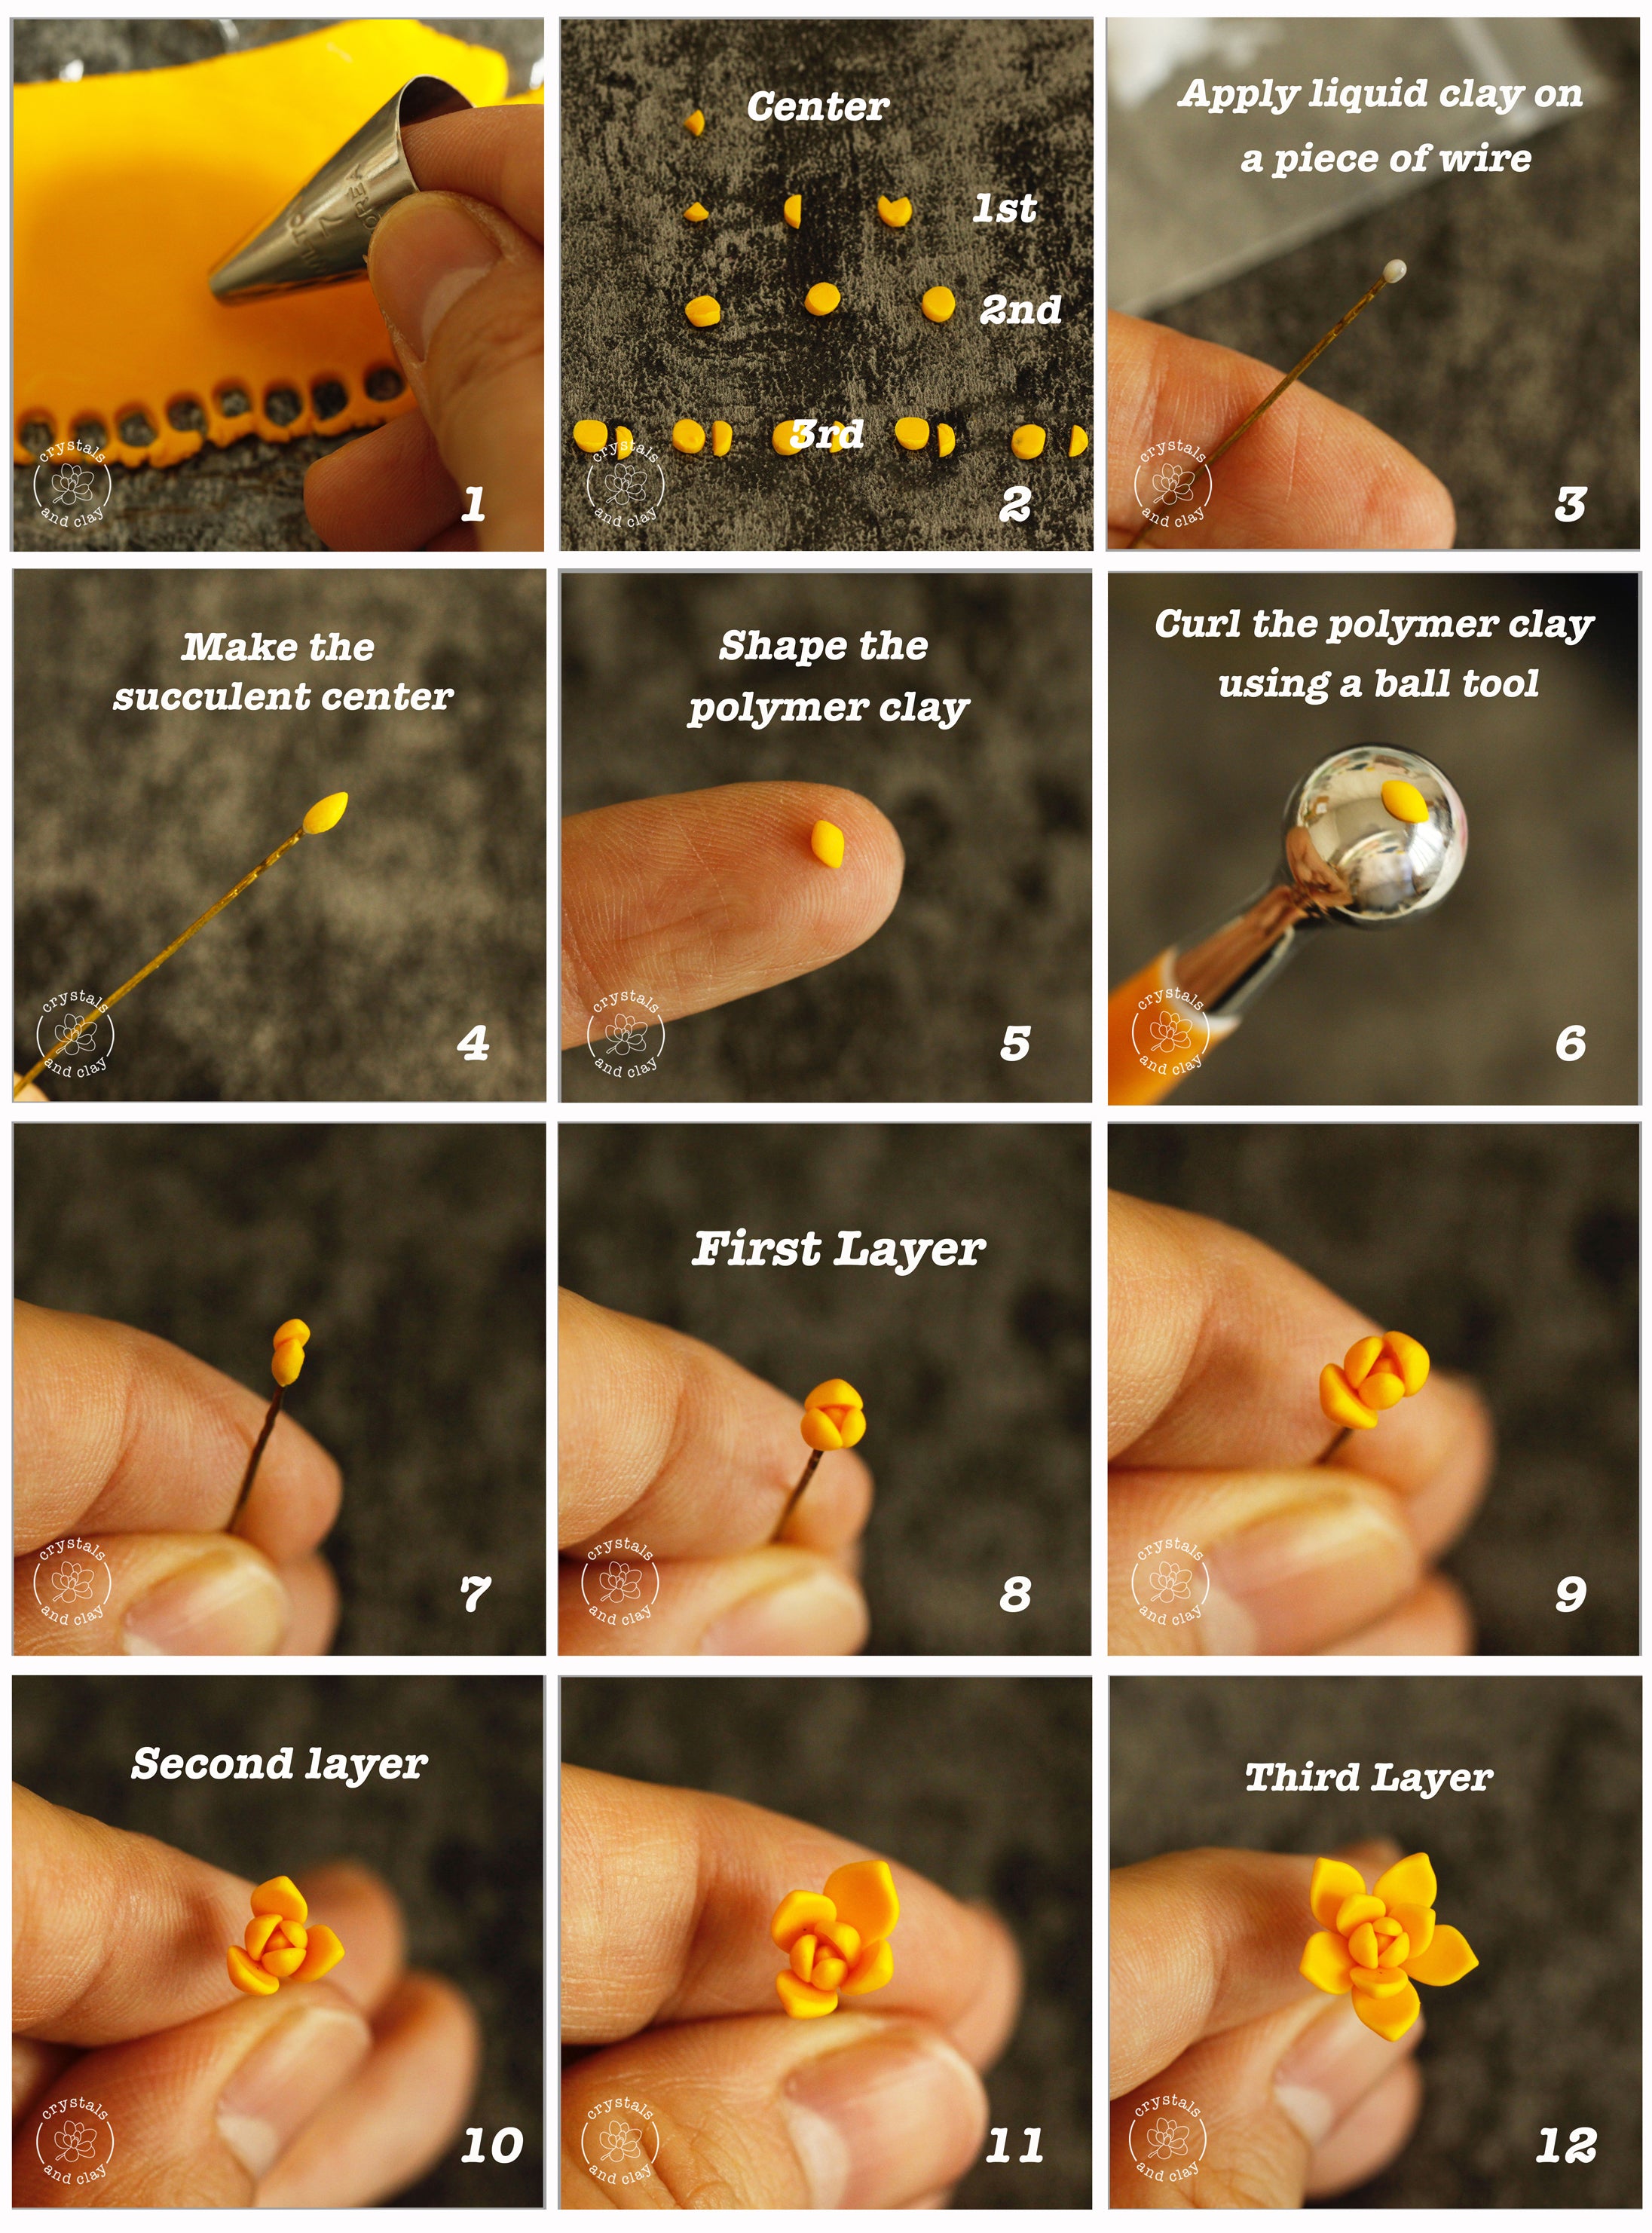
Using a rolling pin or clay roller, roll a piece of yellow polymer clay into 1mm flat sheet. Then as shown in picture 1, cut small circles from it using a Wilton No.7 cake piping tip (4mm in diameter).
The yellow polymer clay color recipe and succulent structure are listed below.
|
Orange Yellow Succulent Color Recipe
|
|
Orange Yellow Succulent Structure (picture 2 below)
|
Shape and arrange the succulent leaves based on the pictures below. Then set aside.

2. Dark Red Succulent
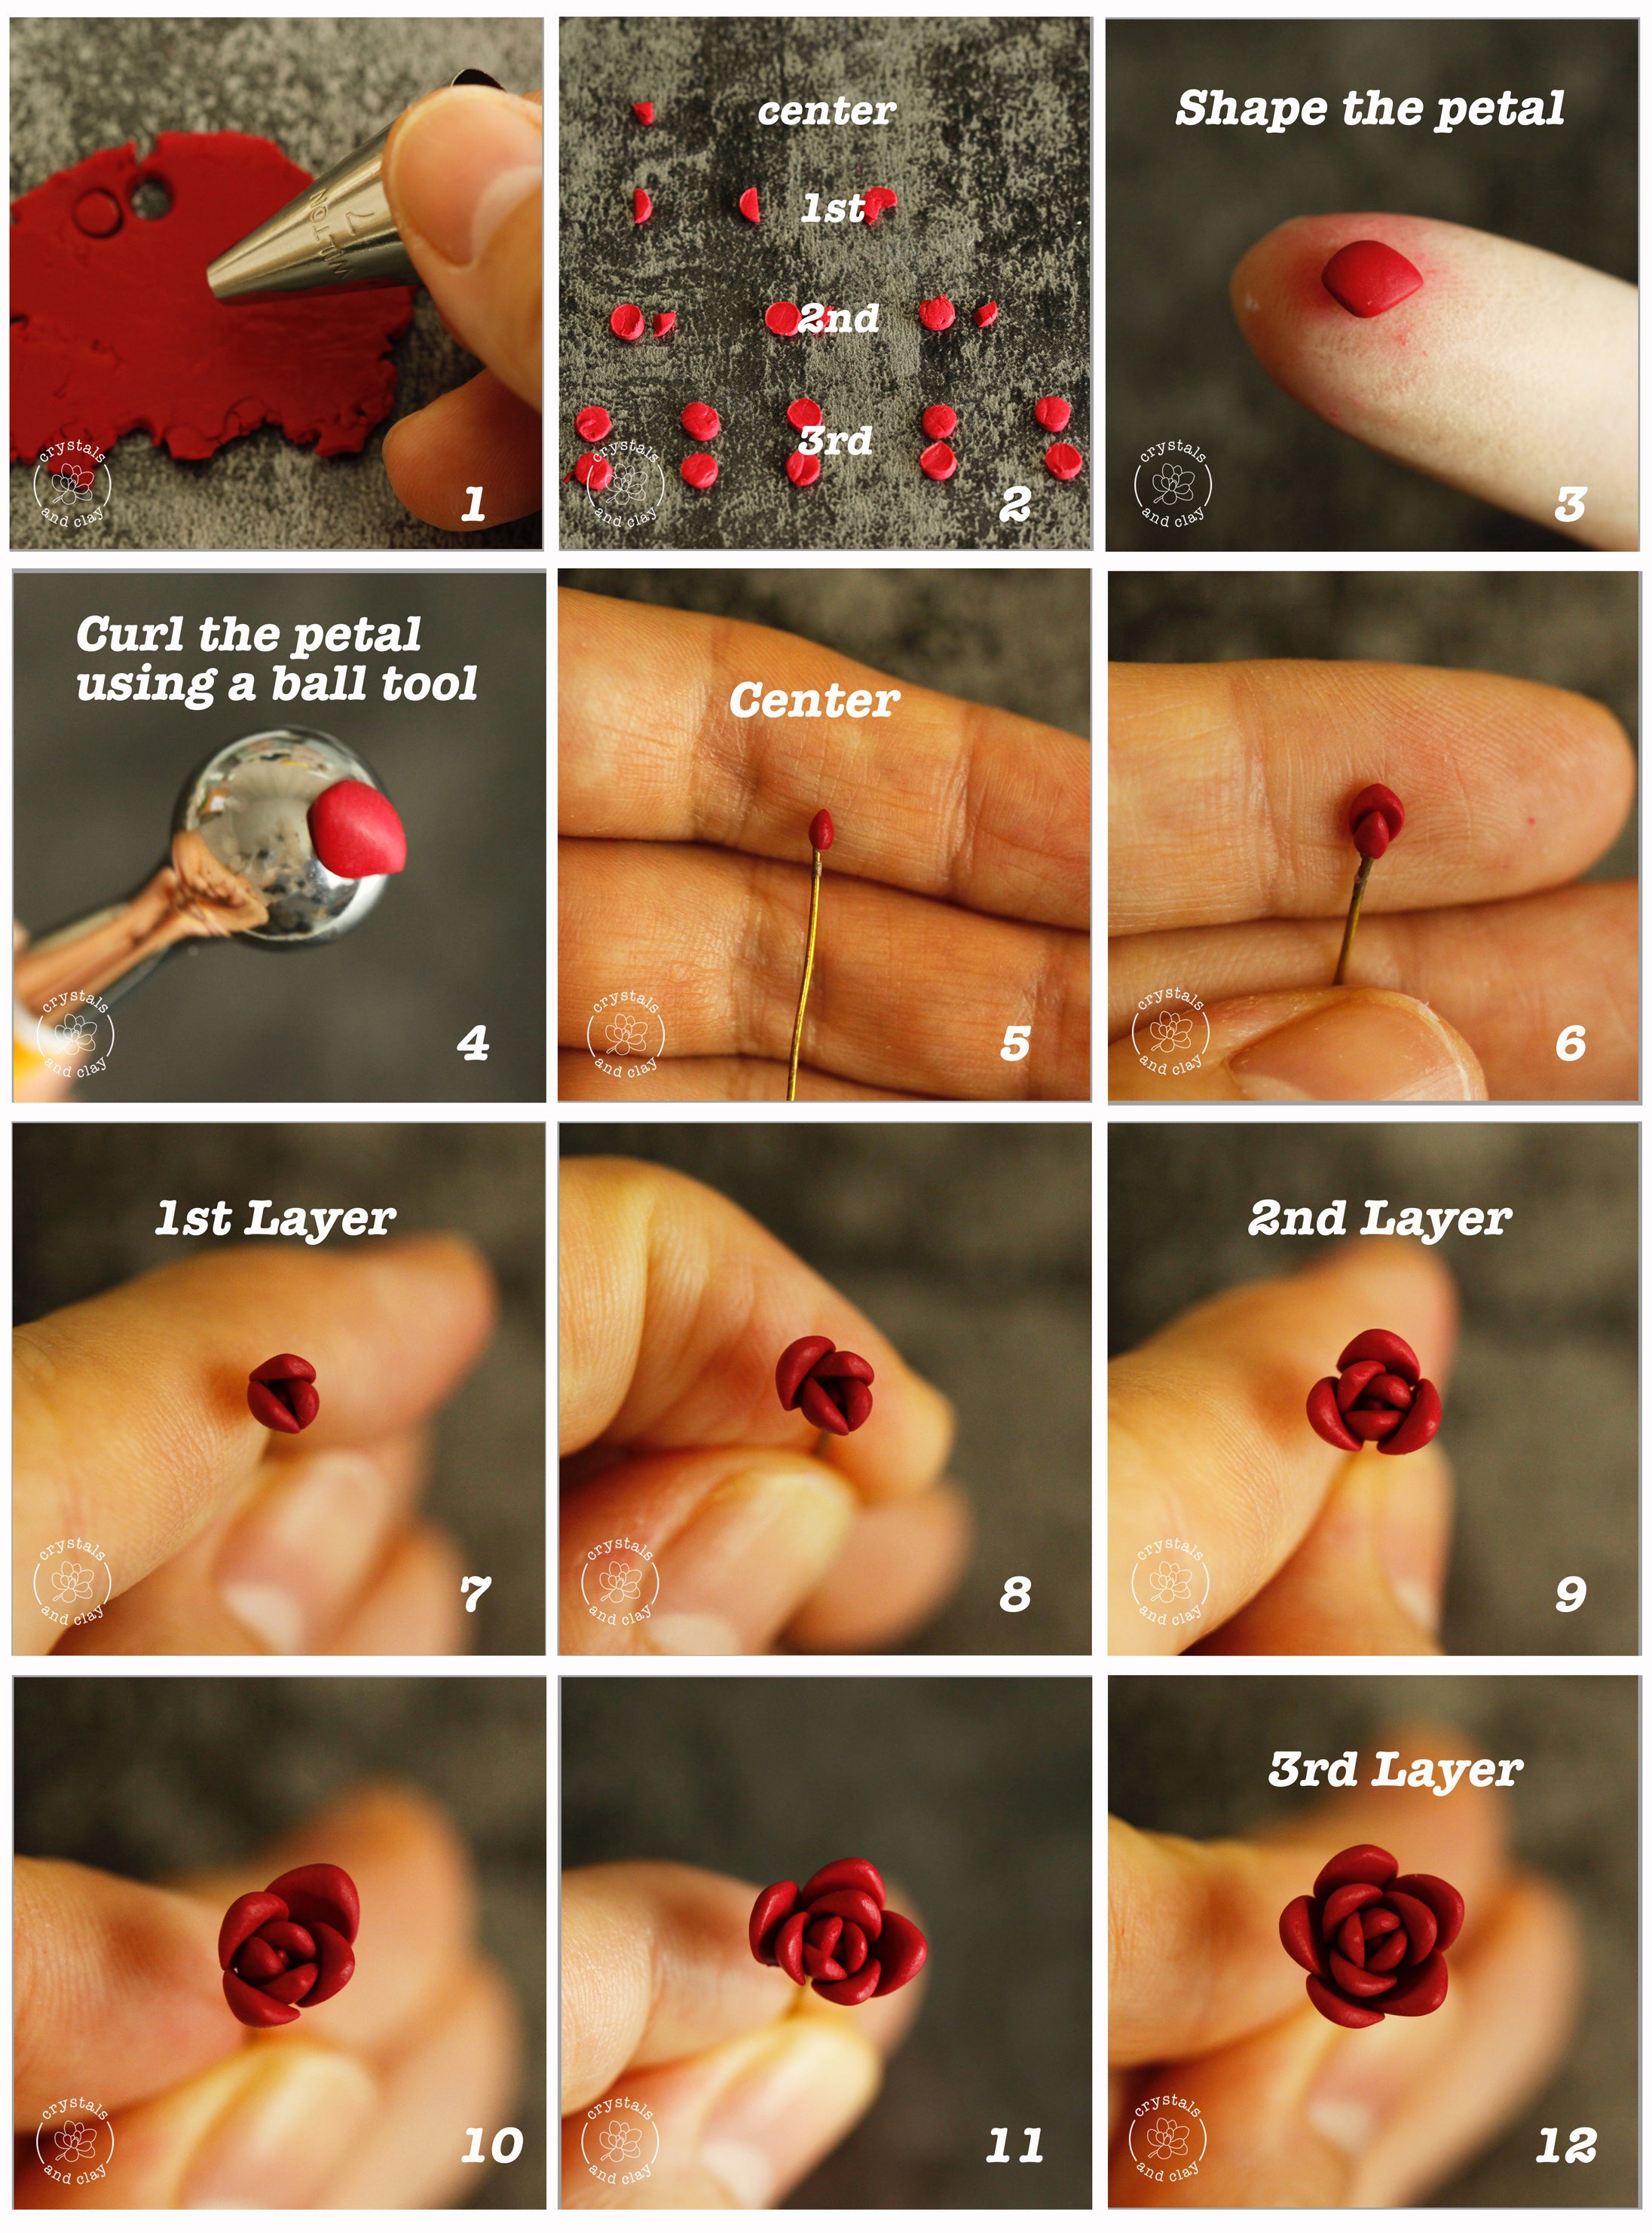
Using a rolling pin or clay roller, roll a piece of red polymer clay into 1mm flat sheet. Then as shown in picture 1, cut small circles from it using a Wilton No.7 cake piping tip (4mm in diameter).The red polymer clay color recipe and succulent structure are listed below.
Dark Red Succulent color recipe
|
Dark Red Succulent Structure (picture 2 below)
|
Shape and arrange the succulent leaves based on the pictures below. This time, the leaf should be slightly wider and thicker than the yellow succulent above. In addition, arrange the leaves tightly against each other.
Using a rolling pin or clay roller, roll a piece of green polymer clay into 1mm flat sheet. Then as shown in picture 1, cut small circles from it using a Wilton No.7 cake piping tip (4mm in diameter).
3. Olive Green Succulent
The green polymer clay color recipe and succulent structure are listed below.
Olive Green Succulent Color Recipe
|
Olive Green Succulent Structure
|
The olive green succulent mainly serves as a “filler”. Therefore we need to keep it small. Shape and arrange the succulent leaves based on the pictures below. Then set aside.

4. Assemble the earrings
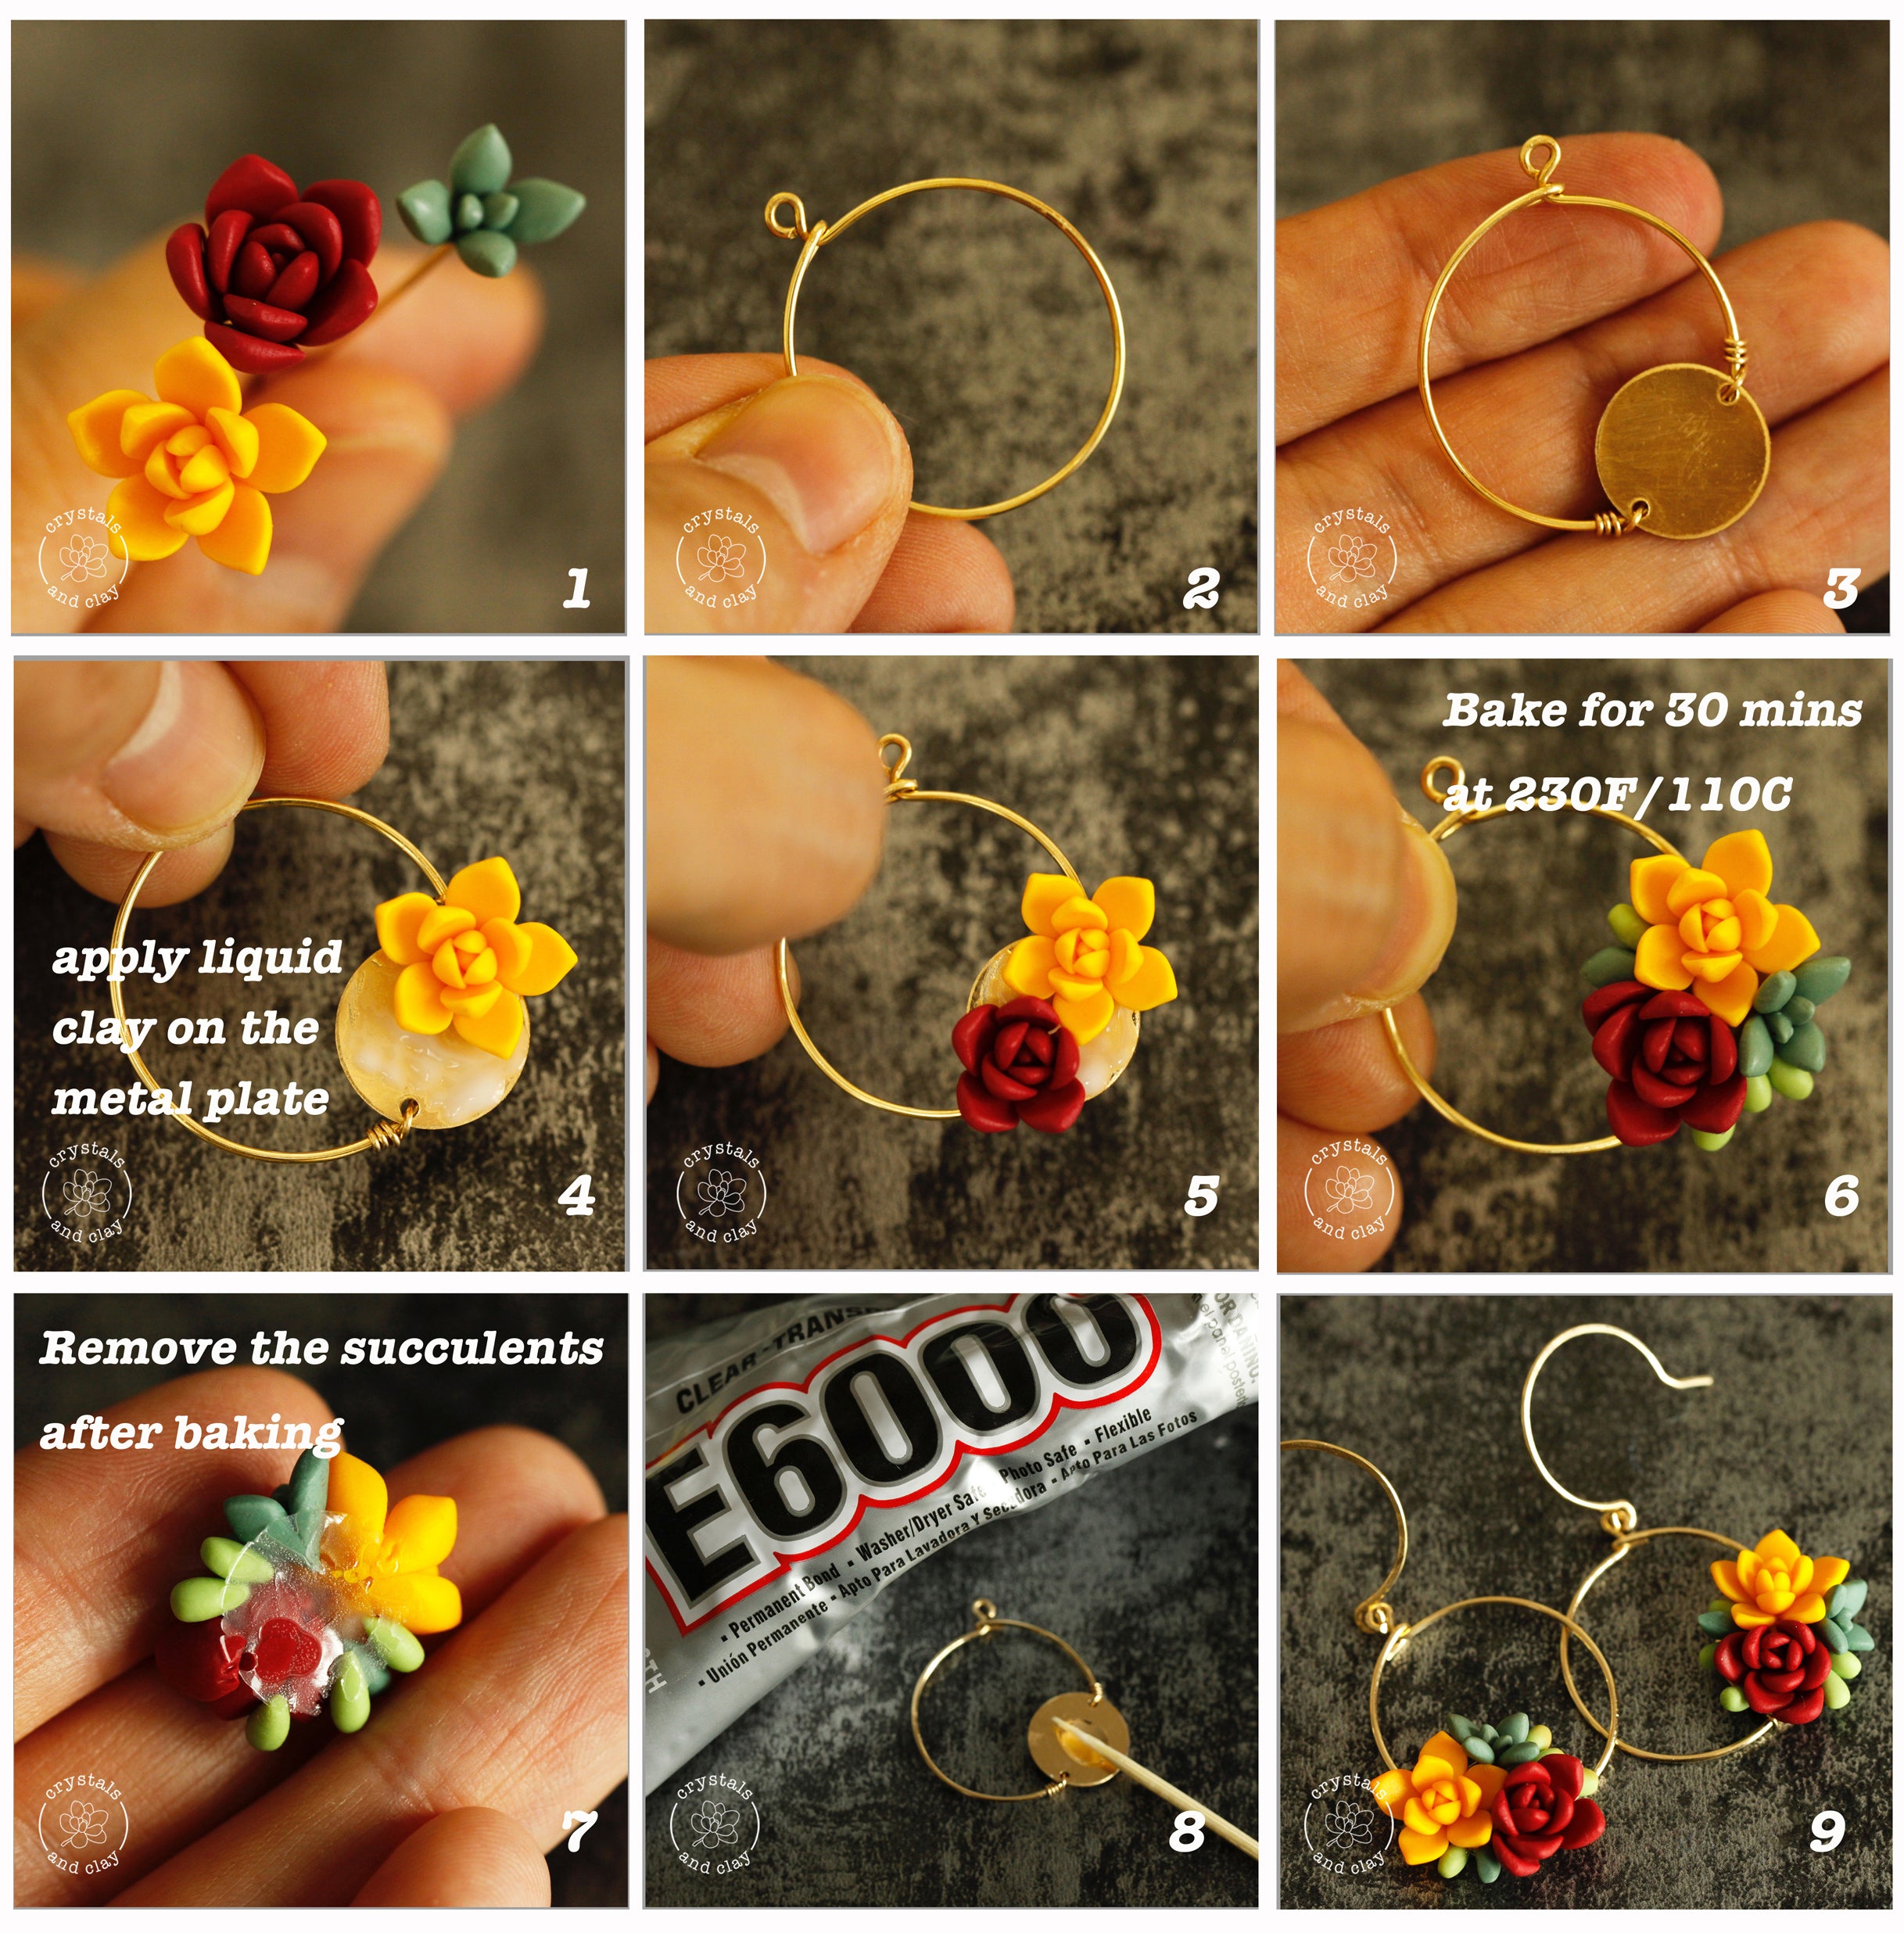
Using 26/28 gauge soft wire, attach a 12mm gold plate on to a wired circle. You can read about how to make a perfect wired circle in here.Apply the liquid clay on the metal plate and arrange the unbaked succulents on top of the plate. Remove a few leaves as needed (in picture 5 you can see I pulled out a few leaves from the red succulent to fit the limited space). If there are any uncovered spaces, stuck in a few individual leaves to make the bouquet full.
Bake the whole thing (wires plus succulents) in the oven at 230f/110c for 30 minutes. Then remove the baked succulents from the plate. Since we added liquid clay to the metal plate, after baking, we will get a smooth surface at the back of the succulents as shown in picture 7.
Apply super glue to the metal plate and pop the succulents right back on. Here you have it — a beautiful and lush polymer clay succulent bouquet — on a simple hoop earring.

If you like today’s tutorial, please share it with your friends by pining the complete picture guide below. Thank you.


Product Used In This Project
-
10/12/16mm 5Pcs Stainless Steel Double Hole Connector Plates
![10/12/16mm 5Pcs Stainless Steel Double Hole Connector Plates]()
- Regular price
- $11.99
- Sale price
- $11.99
- Unit price
- per
-
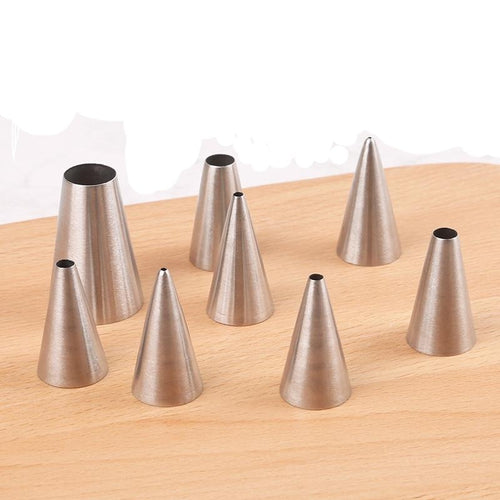
8-Piece Round Piping Tip Set for Polymer Clay Flower Making
![8-Piece Round Piping Tip Set for Polymer Clay Flower Making]()
- Regular price
- $11.86
- Sale price
- $11.86
- Unit price
- per
-
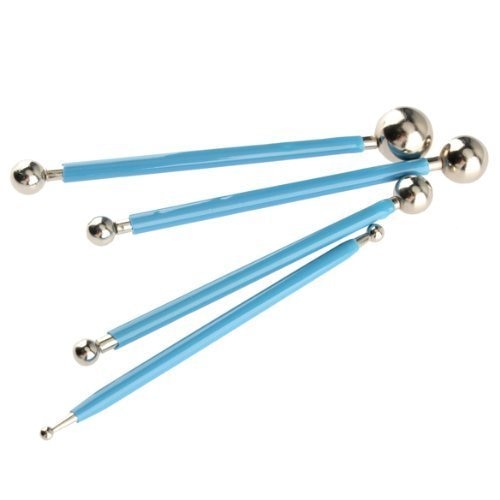
4 Pieces Stainless Steel Polymer Clay Modeling Ball Tool Set
![4 Pieces Stainless Steel Polymer Clay Modeling Ball Tool Set]()
- Regular price
- $11.98
- Sale price
- $11.98
- Unit price
- per
-
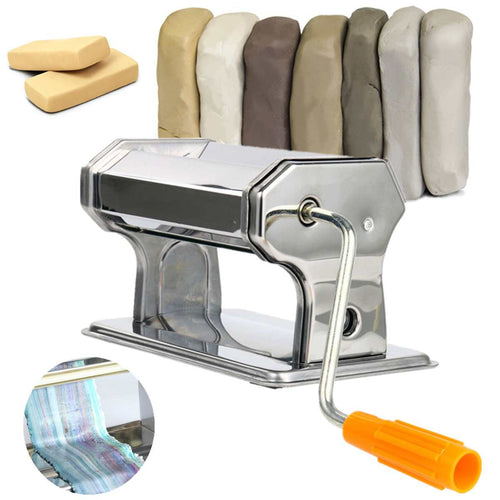
Stainless Steel Polymer Clay Rolling Machine Press Roller
![Stainless Steel Polymer Clay Rolling Machine Press Roller]()
- Regular price
-
$49.99 - Sale price
- $45.00
- Unit price
- per
-
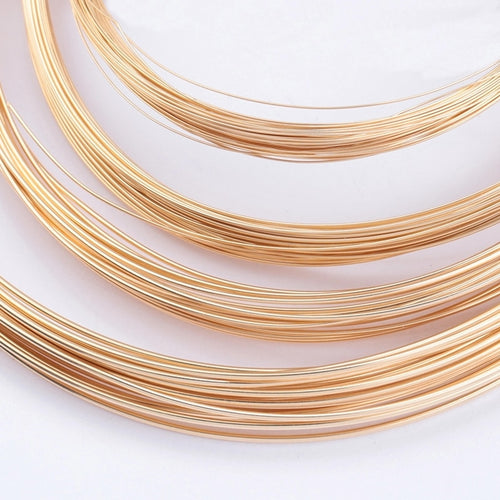
20-30 gauge (0.25--0.8mm) Half Hard 14k Gold Filled Wire
![20-30 gauge (0.25--0.8mm) Half Hard 14k Gold Filled Wire]()
- Regular price
-
$37.10 - Sale price
- $26.12
- Unit price
- per


Thank you so much for this helpful post