
How to make a polymer clay dog pendant (video included)

Today we are going to cover a very fun and different topic -- sculpting a polymer clay dog! This is my very first polymer clay animal tutorial. Although sculpting is quite different comparing to flower making, I promise it's not as intimidating as it looks. With a few tricks and tools, you can learn it in no time!
In order to show you the process clearly, I also prepared a video for you. I suggest you to look at the video first and then review the key points shown in the picture illustration.

Step 1. Cut the outline
Before making our cute little pug, print out a paper template. You can find the image in my Pinterest board here. I resized it to 3.5cm*3.5cm.
Roll the polymer clay to 1mm thickness, cut out the dog outline following the paper template. Press an eye pin deeply into the polymer clay (picture 1).
Cut an oval shape as the pug head and add it on top of the first layer (picture 2).
Mark the head roughly so you know where its eyes and nose should be (picture 3). Then add another layer of clay around the marking as its cheeks and forehead (picture 4).
Step 2. Smooth...smooth...smooth...
Now it's time to turn this pile of clay into something cute!
Smooth the layers together using a rubber tool and carve out any excess when needed (picture 5). To make it more realistic, add wrinkles to its forehead and cheeks (picture 6). Then smooth them together using the rubber tool. Don't forget to add its nose and mouth along the way (picture 7).
The smoothing part can be tedious, but it's also the most magical step. You can see the lifeless polymer clay slowly turning into a little pug face right under your eyes.
Step 3. Adding details
Draw the details of pug's mouth using the needle tool (picture 8). And add the arms and ears to our adorable little character (picture 9).
Now you can pre-bake the polymer clay dog in the oven at 110F/230C for 15 minutes.
Step 4. Coloring the polymer clay
There are two options for coloring:
1. Using the powder color. That is the approach I use in the image. The advantage is the color is very soft and natural. Anyone wearing makeup probably knows what I am taking about. The disadvantage is the powder doesn't have a very good coverage. You will see uneven spots here and there.
2. Using the oil paints. That is the approach I use in the video. As you can imagine, the oil paints can do a good job in coverage but don't look as natural.
In my opinion, you can use oil paints for ears and nose and black powder for wrinkle crease and eye socket. Mouth is the part that you should make your own decision.
Step 5. Adding the eyes
Apply a tiny bit of liquid clay in the eye socket and place two white clay balls in. Draw the eyes using a small brush and oil paints.
Put it back to the oven at 110F/230C for 30 minutes. This is the final baking.
Now you have it! A funny and chubby little pug! You can use it as a pendant, a brooch, or even a keychain. I am sure it will bring smiles to you every day!
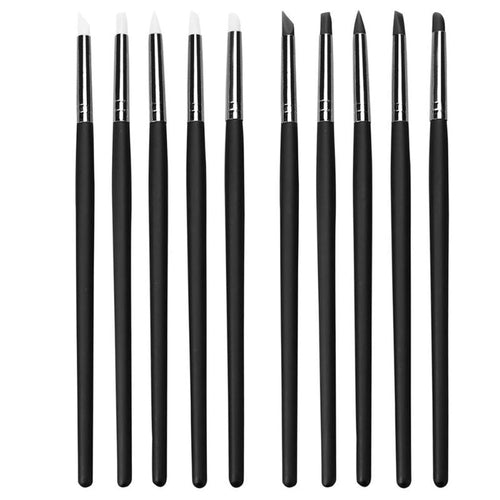
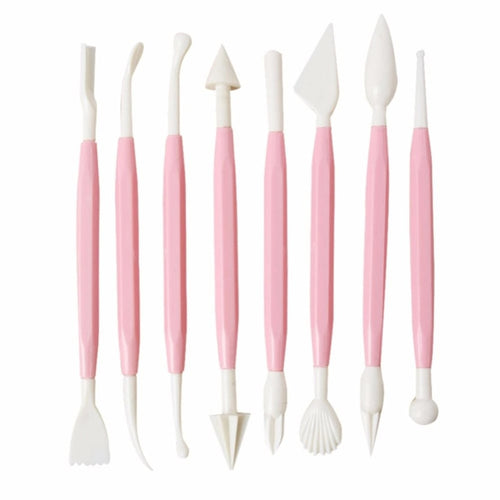
Sculpting tools explained
If you are new to polymer clay sculpting, you might get confused about the tools required. They are quite different from the ones needed for flower making. Therefore, I summarized the basic tools in the following chart. You can also see me using all these tools in the video.
- Rubber tools: they are made for smoothing the clay
- Needle tools: they are used to draw outlines and define details.
- Wire end tools: they are used to carve out the polymer clay.
- Paints and brushes: they are used for coloring the polymer clay.

Recommended Posts:


Product Used In This Project
-
5pcs Silicone Rubber Polymer Clay Sculpting Tool Set
![5pcs Silicone Rubber Polymer Clay Sculpting Tool Set]()
- Regular price
- $8.44
- Sale price
- $8.44
- Unit price
- per


Awesome talent you have got.
and most interesting thing is sharing your skills.
Great job. Keep up your great work.