Beaded Fringe Necklace with Polymer Clay Succulent

I love bohemian style at the bottom of my heart. Although too much of it can be too dramatic for an everyday look; I always try to bring a little 'bohemian' flair to my jewelry design, like this chevron pattern beaded fringe necklace I am going to show you today. It's a very simple necklace with a strong visual impact. Let's get started!

Materials needed:
- 1.3mm gold filled chain
- one 5mm gold filled clasp
- five 45mm gold plated ball head pins
- one 10mm gold plated round connector
- two 4mm gold filled open jump rings
- thirteen 2*3mm micro facet opal beads green
- ten 2*3mm micro facet opal beads pink
- six 2*3mm micro facet amethyst beads
- one 20.5mm round pendant frame
- Fimo soft clay:translucent(No.014), apple green(No.50), lemon(No.10), black(No.09), emerald(No.56)
1. How to get customized color for polymer clay succulent
First thing first, let's get our customized succulent color.

Whenever I try to make a customized color, I always use a small digital jewelry scale to weigh each component I put in. This way I can reproduce the exact same color again and again. If, however, you feel this approach is too much trouble, you can rely on the size of the polymer clay in the photo above to get a similar color.
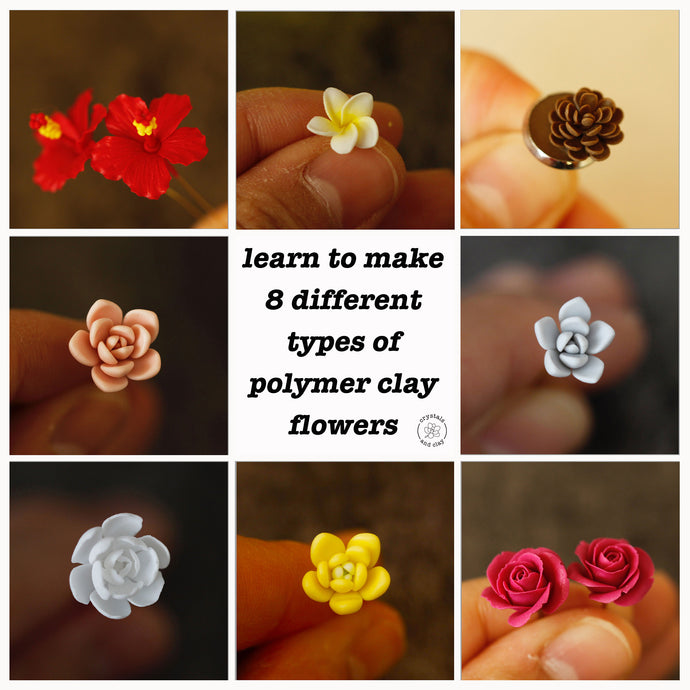
2. How to make the polymer clay succulent
This specific polymer clay succulent has four layers and each layer has three leaves.
- First Layer: 1/4 circle *3
- Second Layer: 1/2 circle *3
- Third Layer: 1 circle *3
- Fourth Layer: 1 circle *3
*A circle refers to a cut out of a Wilton No.7 round piping nozzle. You can read more about how to keep the flower petal uniform in this post.
After the polymer clay is baked, you can color the leaves to make them look more realistic. Chalk pastel is ideal for coloring polymer clay. Just scrub some powder off using a thin blade and they are ready to use. The color I chose in picture 9 is coral red. When applying the color, use a small brush and lightly dab the color only to the tip of the leaves. Don't overdo it! You can't take the color off once they are on there!
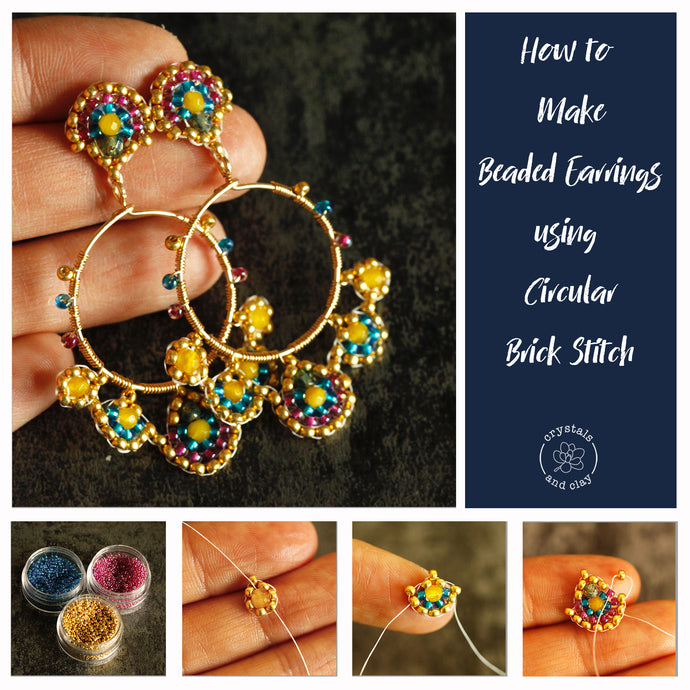
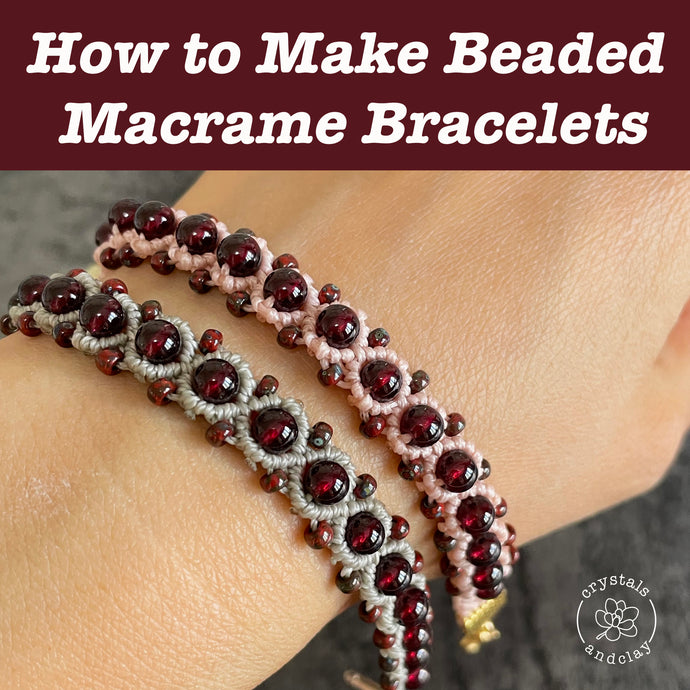
3. How to make chevron pattern beaded fringe
Picture 5 to 8 shows you how to make the beaded fringe and attach them to the pendant frame. This is quite a creative process and you can make any pattern you like! I chose a simple chevron pattern here just for fun.
When you attach the beaded fringe as shown in picture 6, remember to keep the loop relatively large. It should be able to slide easily around the pendant frame. If the loop is too tight, the fringe won't hang correctly when you wear the necklace. After attaching the loop to the frame, wrap the extra wire around the loop one time to secure it and cut the extra wire out (picture 7).
After finishing the beaded fringe, attach the polymer clay succulent to the pendant frame. Then attach the finished pendant to your necklace. Viola! You are all set!
Beaded fringe is a such a versatile design. You can create countless different looks by changing the color, size, and pattern of the beads. I hope you enjoy this necklace and create your own version of it. If you have any questions or ideas, please leave them in the comment section below and I will get to them ASAP. See you next time!
If you love polymer clay succulent, we have another great in-depth tutorial for you! Check it out in our shop.